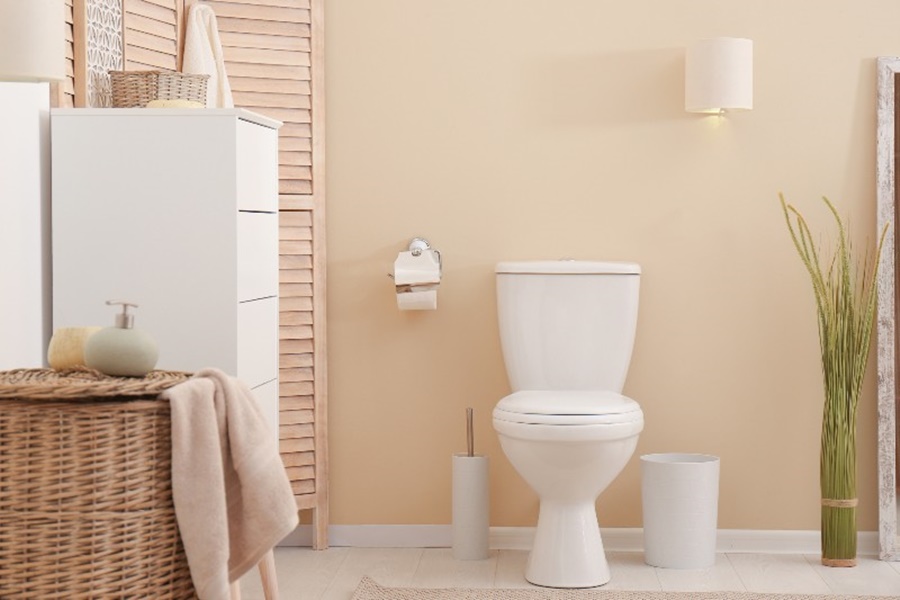
Upgrading the look of your bathroom doesn’t always require expensive renovations. One of the easiest, most affordable DIY bathroom updates is painting a toilet seat. Whether you want to revamp an old seat, match a new color scheme, or simply refresh worn surfaces, painting a toilet seat can make a dramatic impact. In this guide, we provide a complete and professional process to help you paint your toilet seat like a pro and achieve long-lasting results.
What You Need Before You Start
Before beginning, it's crucial to gather all the necessary tools and materials. Preparation is key to ensuring a smooth, even, and durable finish.
Essential Supplies:
Screwdriver (flat or Phillips head, depending on the toilet seat)
Sandpaper (220 to 400 grit)
Rubbing alcohol or household degreaser
Painter’s tape
Drop cloth or plastic sheeting
Spray primer (suitable for plastic or wood, depending on your seat)
Spray paint (high-quality enamel or plastic-bonding paint)
Clear topcoat or sealant (optional but recommended)
Gloves and mask (for protection)
Step 1: Remove the Toilet Seat
Always remove the toilet seat from the toilet before starting the painting process. This prevents paint from getting on the toilet or bathroom surfaces and allows better coverage.
1. Locate the bolts at the back of the toilet seat.
2. Use a screwdriver to unscrew the bolts.
3. Detach the seat and lid from the toilet.
4. Place it on a clean, covered work surface.
Step 2: Clean and Degrease Thoroughly
Paint will not adhere well to a dirty or oily surface. Cleaning the toilet seat properly is a non-negotiable step for optimal results.
1. Scrub the toilet seat with soap and warm water to remove grime.
2. Dry it completely with a clean towel.
3. Wipe the surface with rubbing alcohol or a degreaser to eliminate any remaining oils or residues.
4. Allow it to air dry for 10–15 minutes.
Step 3: Sand the Surface for Better Adhesion
Sanding creates a rough surface that helps the paint bond effectively. Whether the seat is plastic, wood, or composite, sanding is essential.
1. Use 220 to 400-grit sandpaper to gently sand the entire seat and lid.
2. Focus on edges, corners, and any glossy areas.
3. Wipe down the surface with a dry cloth to remove dust.
4. Inspect for any chips or scratches and sand them smooth.
Step 4: Mask and Prepare the Work Area
Protect the surrounding surfaces from overspray.
1. Lay down a drop cloth or plastic sheeting in a well-ventilated area.
2. Use painter’s tape to cover any parts you don’t want painted (e.g., hinges if still attached).
3. Position the seat on supports like paint cans or bricks for easier access to all surfaces.
Step 5: Apply Primer for Long-Lasting Paint
Priming is crucial for proper adhesion, especially with plastic toilet seats. Always use a primer compatible with the seat material.
1. Shake the primer can well before use.
2. Hold the can 8–12 inches away from the surface.
3. Spray in light, even coats to avoid drips.
4. Allow the primer to dry according to the manufacturer’s instructions (typically 1–2 hours).
5. Apply a second coat if needed and let it cure fully.
Step 6: Paint the Toilet Seat
Once the primer is dry, it’s time to paint.
1. Select a spray paint designed for plastic or wood, depending on your seat.
2. Shake the can for at least 1 minute before spraying.
3. Apply the paint in multiple thin coats, allowing 10–15 minutes between each coat.
4. Spray from different angles to ensure full coverage of all surfaces.
5. Avoid heavy spraying to prevent runs and uneven texture.
6. Let the paint cure for at least 24 hours in a dust-free environment.
Step 7: Add a Protective Clear Coat (Optional but Recommended)
A clear topcoat enhances durability and protects the paint from scratches, moisture, and wear.
1. Use a clear enamel or polyurethane spray.
2. Apply in light, even coats as per instructions.
3. Let it cure for 24–48 hours for maximum hardness.
4. Avoid touching or placing objects on the seat during curing.
Step 8: Reattach the Toilet Seat
After everything is fully dry and hardened:
1. Reposition the seat on the toilet.
2. Align the holes with the mounting bolts.
3. Secure it using the original bolts and tighten with a screwdriver.
4. Wipe down with a soft cloth to remove any residue or fingerprints.
Tips for Best Results
Always work in a well-ventilated area.
Use high-quality spray products for better longevity and finish.
Avoid rushing; multiple thin coats are better than one thick coat.
Consider color matching your toilet seat to other fixtures for a coordinated look.
Common Mistakes to Avoid
Skipping sanding – leads to peeling and poor adhesion.
Using the wrong type of paint – not all spray paints adhere to plastic or withstand moisture.
Rushing the drying process – can cause smudging or bubbling.
Neglecting a topcoat – reduces the lifespan of the painted surface.
Conclusion
Painting a toilet seat is an efficient way to enhance the aesthetics of your bathroom without spending much. With proper preparation, high-quality materials, and patience, you can achieve a durable and flawless result that looks professionally done. From cleaning and sanding to priming and painting, every step matters in delivering a finish that not only looks great but also lasts long.

