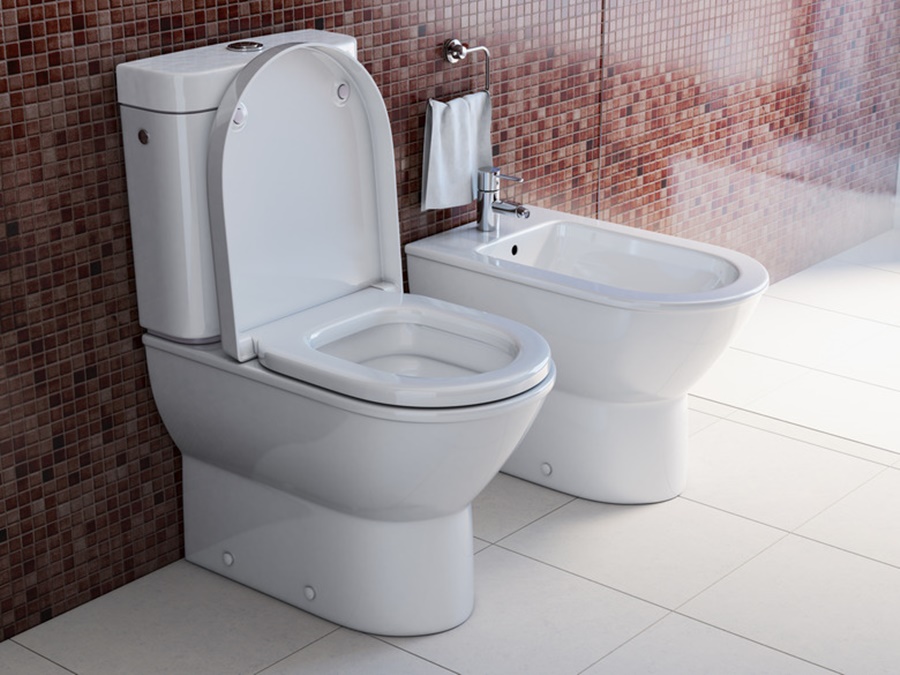
Removing a bidet toilet seat might seem daunting, but with the right approach, it can be a straightforward process. Whether you’re upgrading your bidet, replacing a broken unit, or simply reverting to a regular toilet seat, knowing the correct steps ensures the job is done efficiently and without damage. Follow our comprehensive, step-by-step guide to safely and effectively remove a bidet toilet seat.
Tools and Materials You Will Need
Before beginning, gather the following tools and materials to make the process smoother:
Adjustable wrench or pliers
Flathead screwdriver
Towel or small bucket (to catch water)
Rubber gloves
Old cloth (to protect the floor)
User manual (optional, but helpful for specific models)
Step 1: Turn Off the Water Supply
The first and most crucial step is to shut off the water supply to the bidet seat.
1. Locate the water shut-off valve, usually found on the wall behind or beside the toilet.
2. Turn the valve clockwise until it is completely closed.
3. Flush the toilet to drain the tank and relieve pressure from the water line.
Tip: Place a towel or small container under the connection to catch any residual water.
Step 2: Disconnect the Water Supply Hose
Once the water is turned off, disconnect the water hose that supplies the bidet seat.
1. Locate the hose connected to the T-valve or directly to the seat, depending on your bidet model.
2. Use an adjustable wrench to loosen the metal nut connecting the hose to the bidet.
3. Carefully unscrew the hose and set it aside. Be prepared for a small amount of water to drain out.
Step 3: Unplug the Power Cord (If Applicable)
If your bidet seat is electric, unplug it from the wall outlet.
Always ensure that your hands are dry when handling electrical plugs.
If the plug is difficult to reach, use a flashlight and reposition the seat gently to access it safely.
Warning: Never attempt to remove an electric bidet seat while it is still plugged in.
Step 4: Locate the Mounting Plate Release Button
Most modern bidet toilet seats are attached to a mounting plate, which locks the seat in place.
1. Look underneath the seat or along its sides for a release button or sliding latch.
2. Press or slide this button to unlock the seat from the mounting plate.
3. With the seat unlocked, gently slide it forward to remove it from the toilet.
Note: If your bidet model lacks a visible release mechanism, refer to the manufacturer’s manual.
Step 5: Remove the Mounting Plate
With the seat removed, you’ll now see the mounting bracket still attached to the toilet.
1. Use a screwdriver to unscrew the mounting bolts.
2. Remove the mounting plate from the toilet bowl.
3. If plastic anchors were used, gently pull them out or push them through the hole.
Tip: Save the mounting hardware in case you want to reinstall the bidet in the future.
Step 6: Clean the Toilet Surface
After removing the bidet and mounting plate, clean the area around the toilet bowl holes.
Use a disinfectant cleaner and an old cloth or sponge.
Wipe away any residue, rust marks, or mineral build-up.
Ensure the area is dry before installing a new seat or leaving it exposed.
Step 7: Cap Off the Water Line (Optional)
If you are not installing another bidet, you may want to remove the T-valve and return to a standard water connection.
1. Detach the T-valve from the toilet’s water inlet.
2. Reconnect the original water supply hose directly to the tank inlet.
3. Turn the water shut-off valve back on and check for leaks.
Common Issues and Troubleshooting
Stuck Seat That Won’t Slide Off
If the bidet seat is stuck and won’t release:
Recheck the locking mechanism for debris or obstructions.
Use a flashlight to inspect the track.
Apply a small amount of lubricant to help ease it out, but avoid using excessive force.
Leaky Connections After Removal
If you notice leaks after reconnecting the water supply:
Ensure all washers are in place and not damaged.
Tighten connections with a wrench, but avoid overtightening.
Use plumber’s tape on threads if necessary.
Tips for Future Installations or Replacements
Keep your user manual for reference—most manuals include instructions for removal and installation.
Choose bidet models with quick-release features for easier maintenance.
When purchasing a new bidet, verify toilet compatibility (round vs. elongated, bolt spacing, etc.).
When to Call a Professional
While most homeowners can handle bidet removal themselves, consider hiring a licensed plumber if:
You encounter rusted or stripped bolts.
There is damage to the plumbing system.
Electrical components are not safely accessible.
Conclusion
Removing a bidet toilet seat is a manageable DIY task when approached methodically. From shutting off the water to sliding off the mounting plate, each step requires care and attention to detail. With our step-by-step guide, you can safely uninstall your bidet seat, clean your toilet, and prepare it for either a new bidet or a standard toilet seat.

