
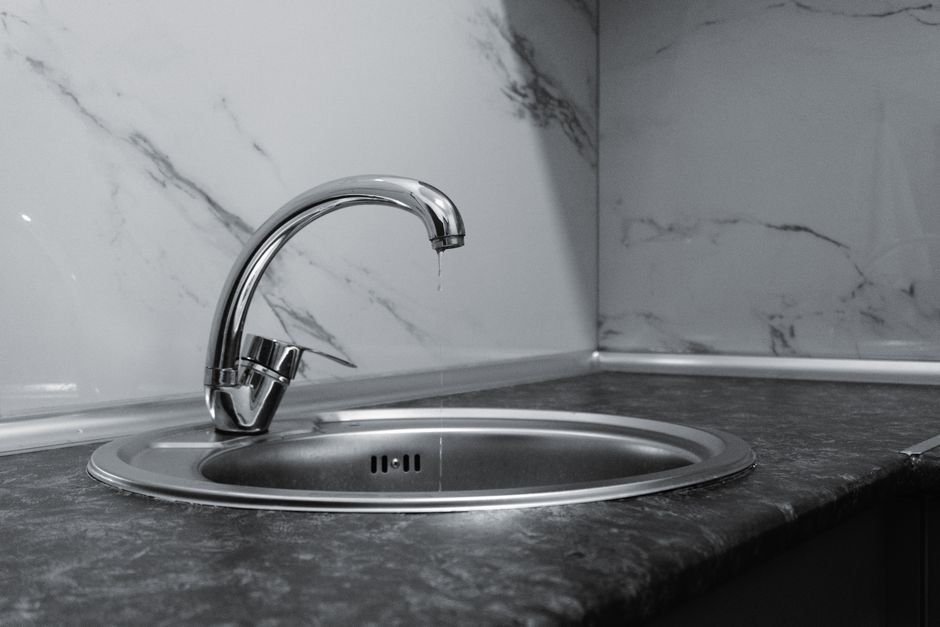
Replacing a kitchen sink faucet can save you anywhere from $100 to $300 compared to hiring a plumber. It's often simpler than anticipated, especially with the right tools and some basic guidance. This task is within reach for most homeowners.
I’ll break down the steps I follow to replace my kitchen sink faucet, highlighting crucial details and common pitfalls along the way. This guide will empower you to take on this task without feeling overwhelmed.
Before jumping into the process, it’s important to gather all the necessary tools and materials. Here is what you will need:
- Adjustable wrench
- Plumber’s tape
- Screwdriver (flathead and Phillips)
- Bucket
- New faucet
- Replacement water supply lines (if needed)
- Cleaning cloths
It might help to research different faucet types beforehand, as there are many styles like pull-down, pull-out, or single-handle faucets on the market. Choosing the right one for your kitchen can make a big difference in functionality.

Step-by-Step Faucet Replacement Instructions
Now, let’s get into the actual replacement process. Here’s a detailed step-by-step guide that I follow:
- Turn Off Water Supply: Locate the shut-off valves under your sink. Turn them clockwise to stop the flow of water. I once forgot to do this, and trust me, it leads to quite the mess!
- Disconnect Water Supply Lines: Use your adjustable wrench to loosen the nuts connecting the supply lines to the existing faucet. Place a bucket underneath to catch any residual water.
- Remove the Old Faucet: Depending on the installation, you will either need to unscrew mounting nuts or clips. Carefully lift the old faucet out once it’s detached.
- Prepare for New Faucet Installation: Before installation, clean the sink surface to ensure a good seal. This is a crucial step; a clean surface helps prevent leaks later.
- Install the New Faucet: Follow the manufacturer’s instructions, as the installation process can vary. Generally, you’ll need to position the faucet and secure it from underneath with the mounting nuts.
- Reattach Water Supply Lines: Connect the new supply lines using plumber’s tape to prevent leaks. Make sure they are tight but not overly tight, as that can cause damage.
- Turn On Water Supply: Slowly turn the shut-off valves counterclockwise to restore water flow. Check for leaks around the connections as you do this.
- Test the Faucet: Turn on your new faucet to ensure everything is working properly. Look for any signs of leaks. If there’s a leak, you may need to tighten some connections or reapply plumber’s tape.
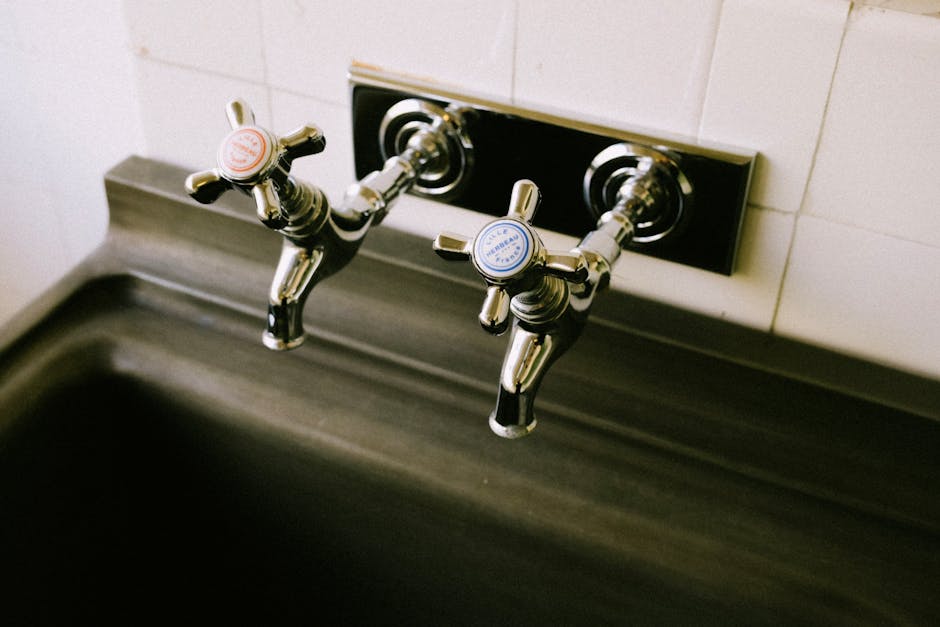
Common Mistakes to Avoid
During my experiences, I’ve noticed that people often make similar mistakes. Here are a few crucial points to keep in mind:
- Not Checking for Compatibility: Ensure that your new faucet will fit the existing holes in your sink. Punching new holes later can be a hassle.
- Ignoring Water Supply Lines: If your old lines are damaged or corroded, replace them with your new faucet. Using old lines can lead to future leaks.
- Skipping Maintenance: Regularly check your faucet for leaks or drips. Catching issues early can save you money and effort down the road.
Replacing a kitchen sink faucet doesn’t have to be intimidating. Armed with the right tools and this step-by-step approach, you can accomplish it confidently. If you find yourself facing other kitchen-related dilemmas, such as how to replace a kitchen sink faucet, check out my guide on the best white kitchen sinks for insights.
When to Call a Professional
While most faucet replacements can be done by yourself, certain situations may warrant professional help. If you encounter extensive plumbing issues, or if your faucet installation requires substantial modifications to your plumbing setup, it might be worth hiring a pro. This can often save you time in the long run and prevent potential errors if you’re not confident in your abilities.
Final Thoughts: Is It Worth the Effort?
Consider tackling this project yourself if you want to save money and build skills. If you're not comfortable with DIY, hiring a plumber is a sound choice for a hassle-free experience. Whichever route you choose, you'll improve your kitchen's functionality.