
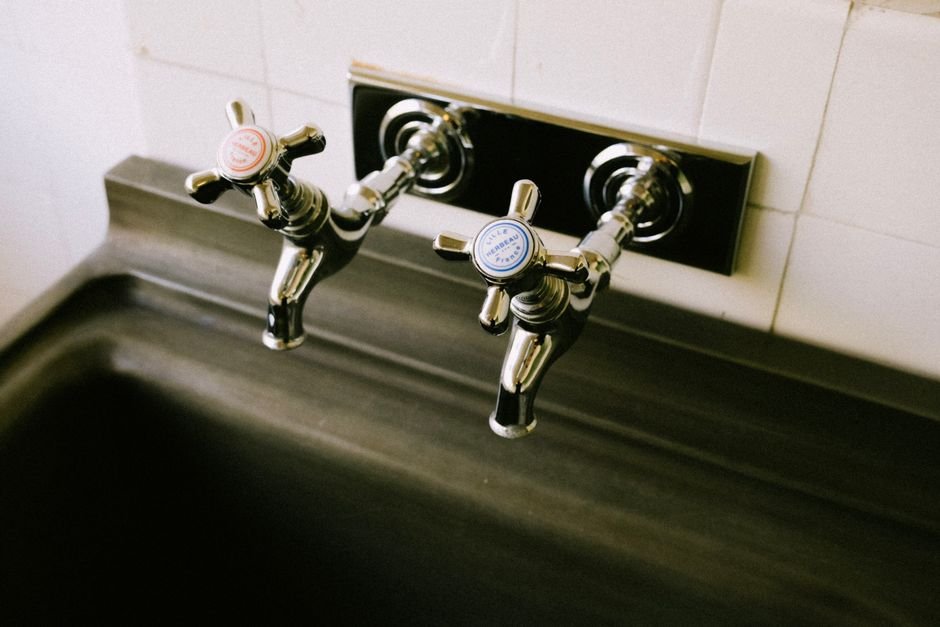
A simple kitchen faucet leak can waste over 3,000 gallons of water annually, translating to about $35 in increased utility bills. Most often, these leaks stem from a deteriorated faucet seal. Learning to replace this seal can help you avoid costly water bills and environmental waste.
Let me share a straightforward process for replacing the seal without making a mess. I’ll cover not only the steps involved, but also the tools you’ll need and a few tips to ensure the job goes smoothly. Before starting, make sure you’re equipped with the right knowledge and preparation, and let’s get your faucet back in shape!

Identifying a Faulty Kitchen Faucet Seal
The first step is recognizing if the seal is indeed the source of your faucet leak. A dripping faucet usually indicates a problem with the seal, specifically the O-ring or cartridge seal. To confirm, first, look for water pooling around the base of the faucet or leaks beneath the sink. You can further investigate by turning the faucet on and observing where water escapes.
If you notice drips even when the faucet is off, it’s a tell-tale sign that the seal needs replacing.
In kitchens, these problems often stem from wear and tear, age, or improper installation. If your faucet is older than two years or you rarely perform maintenance, there’s a good chance the seal has degraded. By replacing the seal, not only do you fix the leak, but you also improve the longevity of the faucet itself.
Tools Required for Replacing a Faucet Seal
Before you dive into replacing the seal, gather the necessary plumbing tools. Here’s what you’ll need:
- Adjustable wrench
- Screwdriver (flathead and Phillips)
- Replacement seals (specific to your faucet model)
- Plumber's grease
- Towel or small bucket (to catch any dripping water)
Having all the right tools at your fingertips makes the process go smoothly and minimizes hassle. A common mistake is to delay gathering tools, which often leads to pauses mid-project. Make sure you have everything ready before starting. If you’re unsure about the replacement seals, take the old ones with you to the hardware store to find exact matches.

Steps to Replace the Kitchen Faucet Seal
Now that you are clear on tools, let’s walk through the replacement process step-by-step. First things first, you need to shut off the water supply. There are usually shut-off valves beneath the sink; turn them clockwise until they are tightly closed. Once that’s done, turn on the faucet to release any remaining water pressure.
Next, you will need to dismantle the faucet. Depending on your model, this step may vary slightly, but typically you can remove the handle by locating and unscrewing it. There may be a decorative cap hiding the screw, so ensure to check for that. After removing the handle, you should see the cartridge or a ball mechanism.
Carefully lift this out of the faucet housing to expose the seals and O-rings. Check for any damage and replace the seals accordingly. It’s crucial to apply plumber’s grease to the new seals for a smooth operation and to prolong their lifespan. Reassemble your faucet in the reverse order, and don’t forget to turn the water supply back on.
Maintenance Tips for Future Prevention
After replacing the kitchen faucet seal, consider following some maintenance tips to prevent future leaks. Regularly inspect your faucet for any signs of wear, and keep the area clean and dry to avoid water buildup. It’s also a good idea to perform annual maintenance checks. This can include tightening loose screws, cleaning any mineral deposits, and reapplying plumber’s grease when necessary.
Additionally, if you’re looking for more extensive faucet repairs, check out my detailed guide here on Troubleshooting a Leaky Kitchen Faucet. It covers various potential issues that might arise and offers some practical solutions.
Wrapping Up the Replacement Process
Replacing a kitchen faucet seal may sound daunting, but with the right tools and a systematic approach, it’s definitely manageable on your own. You’ll not only fix the leak and save water but also gain confidence in your plumbing skills. If you follow these steps and maintain your faucet regularly, you can avoid leaks and extend the life of your faucet significantly. For a panoramic view of Picacho Peak, which can serve as a nice distraction during your plumbing tasks, check this out here.
Was this process helpful? Share your experience or any tips you have while replacing faucet seals. If you’re considering further repairs, you might want to read my piece on How to Replace a Kitchen Sink Faucet Without a Plumber for additional guidance.