Properly caulking a bathtub is essential for preventing water damage, maintaining hygiene, and improving the overall appearance of your bathroom. In this comprehensive guide, we will walk you through the entire process of removing old caulk, preparing the surface, applying new caulk, and finishing with professional results.
Why Re-Caulking Your Bathtub Matters
Old, cracked, or moldy caulk can lead to water seepage, structural damage, and mold growth. Re-caulking not only preserves the integrity of your bathroom but also enhances the aesthetic appeal. Knowing how to caulk a bathtub the right way ensures your bathroom stays clean, dry, and mold-free for years.
Tools and Materials You Will Need
Before starting, gather the following tools and materials:
Utility knife or caulk removal tool
Putty knife or scraper
Isopropyl alcohol or a bathroom cleaner
Painter’s tape
Silicone or latex caulk (specifically for bathrooms)
Caulk gun
Caulk smoothing tool or your finger
Paper towels or rags
Rubber gloves
Step 1: Remove Old Caulk Completely
To ensure a strong, lasting seal, removing all existing caulk is crucial.
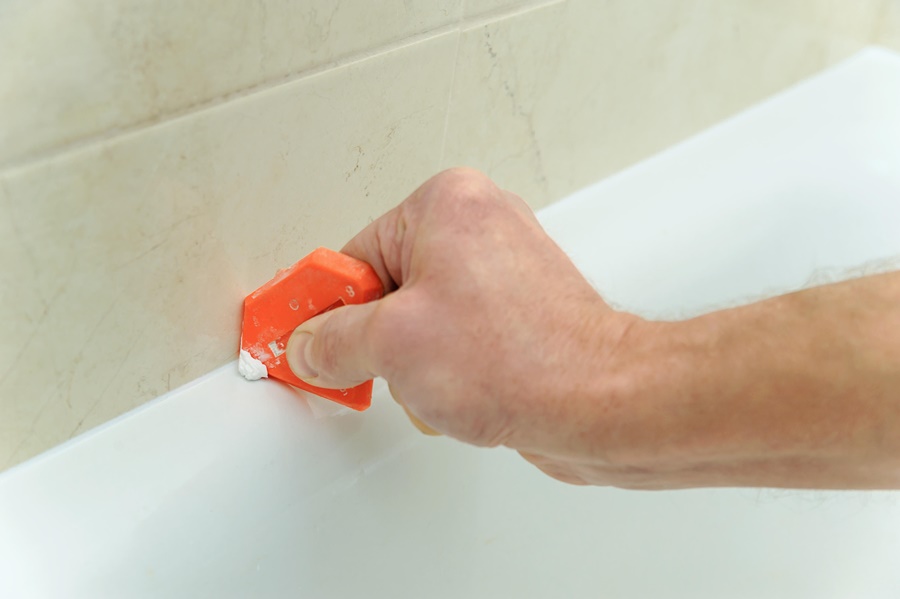
1. Use a caulk removal tool or utility knife to score and lift the old caulk.
2. Carefully pull away the caulk strands. Avoid scratching your tub or tile.
3. Use a putty knife to remove stubborn residues.
4. Clean the joint with isopropyl alcohol to eliminate any soap scum or mildew.
Pro Tip: Avoid using bleach or ammonia as they may interfere with the new caulk’s adhesion.
Step 2: Clean and Dry the Surface Thoroughly
Moisture is the enemy of adhesion. After removing the old caulk:
Wash the surface with a bathroom cleaner to remove any grime or residue.
Rinse and wipe dry with clean towels.
Allow the area to air-dry for at least an hour, or use a fan to speed up the process.
Step 3: Apply Painter’s Tape for Clean Lines
For a professional-looking finish, apply painter’s tape about 1/8" above and below the seam.
This creates a channel for a uniform caulk bead.
Avoid excessive spacing; the narrower the gap, the neater the result.
Make sure the tape is straight and secure.
Step 4: Choose the Right Caulk
Always select 100% silicone caulk labeled “mold-resistant” or “bathroom-grade.”
Silicone is waterproof, flexible, and long-lasting.
If paintability is required, opt for siliconized latex, but it won’t last as long as pure silicone.
Choose a white or clear caulk based on your tub color and bathroom decor.
Step 5: Load and Cut the Caulk Tube
1. Insert the caulk tube into a caulking gun.
2. Cut the nozzle at a 45-degree angle to match the size of the gap (typically 1/8").
3. Puncture the inner seal with a long nail or wire.
Pro Tip: Start with a smaller cut and increase if needed. A smaller bead is easier to control.
Step 6: Apply the Caulk Smoothly and Evenly
Hold the caulk gun at a 45-degree angle.
Squeeze the trigger gently and move steadily along the seam.
Apply a continuous bead without breaks or air bubbles.
Don’t overfill just enough to bridge the joint with slight overlap.
Tip: Caulk the vertical seams first, then the horizontal base for the cleanest result.
Step 7: Smooth the Caulk Bead Immediately
Before the caulk begins to set:
Use a caulk finishing tool or gloved finger dipped in water to smooth the bead.
Press firmly but gently, pushing the caulk into the seam.
Maintain a continuous motion for uniformity.
Remove the painter’s tape immediately after smoothing to prevent tearing the bead.
Step 8: Allow Proper Curing Time
Caulk must fully cure before exposure to water.
Check manufacturer instructions, but typical curing time is 24 to 48 hours.
Avoid touching or cleaning the area during this period.
Important: Do not use the bathtub or shower until the caulk is fully cured, or you risk premature failure.
Maintenance Tips for Long-Lasting Caulk
1. Keep the area dry after each use to prevent mold.
2. Clean with mild, non-abrasive cleaners to preserve the caulk.
3. Inspect every 6 months for cracks, discoloration, or mold.
4. Re-caulk every 2–5 years, depending on conditions and product quality.
Common Caulking Mistakes to Avoid
Applying over wet surfaces – This prevents proper adhesion.
Using the wrong type of caulk – Always use mold-resistant silicone.
Skipping surface preparation – Old residue and dirt can cause peeling.
Not smoothing the bead – This can lead to gaps and uneven seals.
Ignoring curing times – Premature use ruins the seal.
When to Call a Professional
If your tub area shows signs of:
Extensive mold or mildew growth
Cracks or damage to surrounding tile or grout
Leaks behind walls or under flooring
It’s time to contact a licensed plumber or contractor for proper remediation before re-caulking.
Conclusion
By following these detailed steps, your bathtub caulking will be seamless, waterproof, and mold-resistant. It’s a relatively small DIY project that yields significant benefits in appearance, functionality, and long-term protection.

