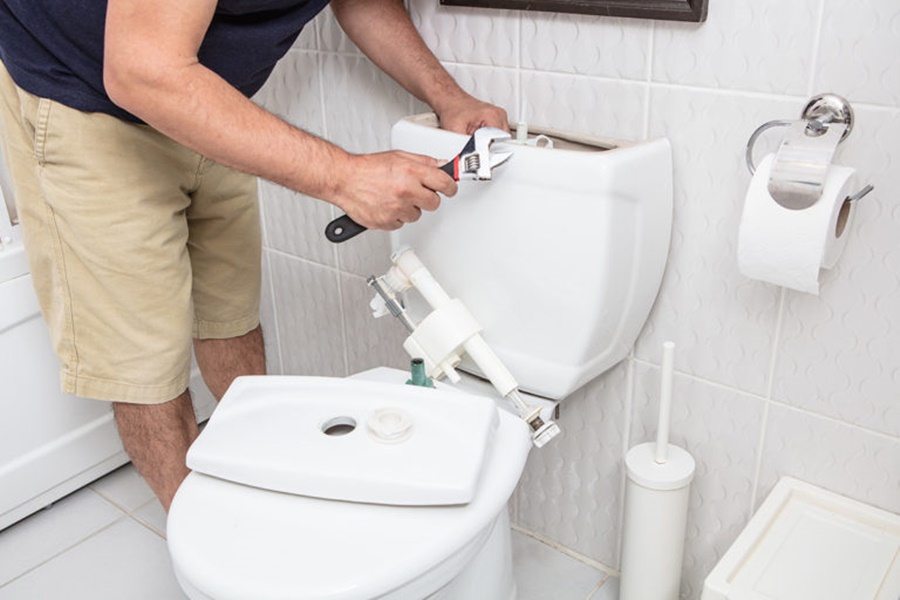
A broken toilet seat isn’t just an inconvenience it’s a hygiene issue and can quickly become a safety hazard. Whether it's a crack, loose hinge, or a complete break, addressing the problem promptly ensures comfort and sanitation in your bathroom. Below is a comprehensive guide for fixing or replacing a broken toilet seat with step-by-step instructions, covering every scenario from tightening loose fittings to replacing the entire unit.
Tools and Materials Required
Before beginning the repair or replacement, ensure you have the following:
Adjustable wrench or pliers
Flathead screwdriver
New toilet seat (if replacement is needed)
Cleaning supplies (disinfectant wipes or bathroom cleaner)
Rubber gloves
Penetrating oil (e.g., WD-40 for rusty bolts)
Inspecting the Type and Condition of the Toilet Seat
Before proceeding, it’s essential to identify the nature of the problem. Determine whether the toilet seat is:
Cracked or broken: Replacement is necessary.
Loose or wobbly: Tightening or replacing the hinges may be enough.
Discolored or stained: Cosmetic issue; replacement recommended for hygiene.
Also, check if it’s a round or elongated toilet seat, as this will affect the size of the replacement unit.
How to Tighten a Loose Toilet Seat
A common problem in households, a loose toilet seat often results from worn or loosened bolts. Here’s how to fix it:
Step 1: Locate the Bolts
Lift the plastic covers behind the seat to reveal the bolt heads. Most toilet seats are secured by two bolts, one on each side at the back.
Step 2: Secure the Bolts
Using a flathead screwdriver, hold the top of the bolt while you tighten the nut underneath with a wrench or pliers. Turn clockwise to tighten. If bolts spin freely, apply gentle downward pressure.
Step 3: Replace Damaged Hardware
If bolts are stripped or corroded, purchase a toilet seat bolt replacement kit. Remove the old bolts, clean the area thoroughly, and install new hardware.
How to Remove a Broken Toilet Seat
When the seat is beyond repair, complete removal is necessary.
Step 1: Unscrew the Bolts
With gloves on, lift the plastic caps and use your screwdriver and wrench to unscrew the bolts. If rusted, apply penetrating oil and let sit for 10 minutes.
Step 2: Use Force Carefully if Needed
If bolts are stuck, gently use pliers to grip and twist. For persistent bolts, a mini hacksaw or rotary tool can be used to cut them off. Always wear safety glasses if using power tools.
Step 3: Clean the Mounting Surface
After removing the old seat and hardware, clean the toilet rim with disinfectant to remove buildup, grime, or rust before installing the new seat.
How to Replace a Toilet Seat
Once the old seat is removed, the installation of a new toilet seat is straightforward.
Step 1: Align the New Seat
Place the new seat over the toilet bowl. Line up the bolt holes at the back with the holes on the toilet base.
Step 2: Insert and Tighten Bolts
Insert the bolts through the holes. Hold the top with a screwdriver while tightening the nuts below using pliers. Make sure the seat is centered and secure.
Step 3: Test for Stability
Close the lid and gently shift the seat to check for movement. If it shifts, tighten further. Snap the bolt covers into place.
How to Fix a Broken Hinge on a Toilet Seat
Sometimes, the hinge alone is the issue. Some seats allow for hinge replacement without replacing the entire unit.
Step 1: Remove the Old Hinge
Unscrew and remove the broken hinge. Clean the area thoroughly.
Step 2: Install the New Hinge
Align the new hinge and use the provided screws or bolts to secure it. Make sure the seat is centered.
Step 3: Test for Movement
Ensure the seat opens and closes smoothly. If the seat drifts or feels loose, double-check bolt tightness.
Soft-Close Toilet Seat Repair Tips
Soft-close seats use a hydraulic mechanism to lower slowly. If it slams shut, the mechanism may be worn.
Check for debris in the hinge mechanism. Clean thoroughly.
If still faulty, you may need to replace the entire seat, as internal components aren’t usually serviceable.
Common Mistakes to Avoid
Overtightening bolts: This can crack the ceramic base or warp plastic parts.
Using the wrong seat size: Always measure before purchase standard sizes are round (16.5") and elongated (18.5").
Ignoring alignment: Misaligned seats are uncomfortable and can damage the bowl.
Forgetting to clean: Always sanitize after removing or before installing.
Toilet Seat Maintenance Tips
To prolong the life of your seat:
Clean weekly using mild, non-abrasive cleaners
Avoid slamming the lid (opt for soft-close models if needed)
Inspect bolts regularly to prevent loosening
Replace seats every 2-3 years for hygiene and comfort
When to Call a Professional
While most toilet seat issues are DIY-friendly, call a plumber if:
The toilet bowl itself is cracked
Bolts are inaccessible due to complex fittings or concealed units
You encounter unusual leaks or instability in the toilet base
Conclusion
A broken toilet seat is a quick and inexpensive fix with the right tools and guidance. Whether you’re tightening loose bolts, replacing a cracked seat, or repairing a broken hinge, these steps ensure a successful outcome without professional help. Always prioritize hygiene and safety throughout the process.

