Remodeling your bathroom yourself is not just a cost-effective solution it’s also deeply satisfying. With the right tools, careful planning, and a commitment to quality, you can transform your outdated space into a luxurious, functional sanctuary. In this guide, we’ll walk through the entire bathroom remodeling process, from planning to the final touches, so you can confidently complete your renovation without hiring a contractor.
Planning Your DIY Bathroom Remodel
Before lifting a hammer, it's crucial to define your bathroom remodeling goals. Consider the layout, design aesthetics, and functional improvements you want to achieve.
Create a Budget and Timeline
Start with a realistic budget. Consider costs for:
Plumbing and electrical work
Tiles, fixtures, and fittings
Tools and materials
Unexpected expenses (add at least 10% buffer)
Plan a timeline that includes each stage of the remodel—from demolition to finishing touches. Allocate extra time for unforeseen delays.
Design and Layout Considerations
Use design software or graph paper to map your current bathroom layout. Think about:
Fixture placement (toilets, sinks, showers)
Ventilation upgrades
Lighting for functionality and ambiance
Storage solutions
Choose a style that reflects your personality—whether it’s modern minimalism, rustic charm, or classic elegance.
Step 1: Demolition – Clearing the Old Bathroom
Safety first. Turn off water and electricity before starting. Wear protective gear: gloves, goggles, and masks.
Tasks to Complete During Demolition
Remove all fixtures: vanity, toilet, bathtub/shower
Detach and safely store or dispose of lighting fixtures
Tear down old tiles, drywall, and flooring as needed
Check for water damage or mold, especially around the tub and toilet
Use a pry bar for tile removal and a reciprocating saw for drywall. Rent a dumpster to efficiently handle debris.
Step 2: Plumbing and Electrical Updates
This is the backbone of your remodel. If you’re moving major fixtures, you may need to reroute plumbing and relocate electrical outlets or lighting.
Plumbing
Replace old copper or galvanized pipes with PEX or PVC
Install shut-off valves for each fixture
Update the shower valve if installing a new shower or tub
Electrical
Install new GFCI outlets
Add recessed lighting, vanity lighting, or LED strips
Upgrade the exhaust fan to reduce humidity
Consult local building codes or consider hiring licensed professionals for this phase if needed.
Step 3: Installing Drywall and Cement Board
Once plumbing and electrical systems are in place and inspected, it’s time to close up the walls.
Drywall Installation Tips
Use moisture-resistant drywall (green board) in dry areas
Use cement board (HardieBacker or Durock) in wet areas like the shower
Seal all seams with mesh tape and thin-set mortar, especially around wet zones. This ensures longevity and prevents mold.
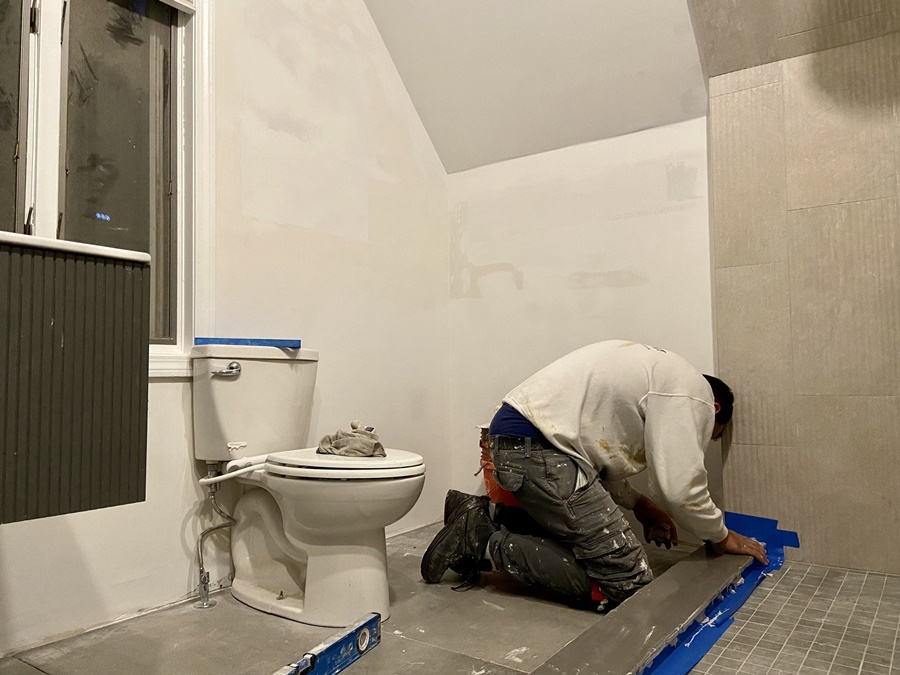
Step 4: Tiling and Flooring
This is where the visual transformation begins.
Floor Tiling
Choose porcelain or ceramic tiles for water resistance
Ensure the subfloor is level and solid
Use tile spacers for even grout lines
Shower and Wall Tiling
Start from the center and work outward
Use a tile leveling system to avoid lippage
Waterproof behind tiles with a liquid membrane
Grout thoroughly and seal the grout lines after curing to prevent staining and water penetration.
Step 5: Installing Fixtures and Cabinets
After surfaces are finished, bring in the major components.
Vanity and Sink Installation
Secure vanity to wall studs
Connect faucet and drain assembly
Caulk around edges to prevent moisture seepage
Toilet Installation
Set the wax ring and lower the toilet straight down
Tighten bolts evenly to avoid cracking
Connect water supply and check for leaks
Shower or Tub Installation
Follow manufacturer instructions for fitting and sealing
Ensure drains are aligned and leak-proof
Step 6: Painting and Finishing Touches
With major elements in place, it's time to perfect the space.
Painting Tips for Bathrooms
Use mold-resistant bathroom paint
Choose semi-gloss or satin finishes for durability
Tape edges and use drop cloths to protect tiles and fixtures
Conclusion
Remodeling your bathroom yourself is entirely achievable with preparation, the right tools, and a step-by-step approach. Whether you're upgrading for function, aesthetics, or resale value, a carefully planned DIY bathroom remodel not only saves you money but delivers immense personal satisfaction.