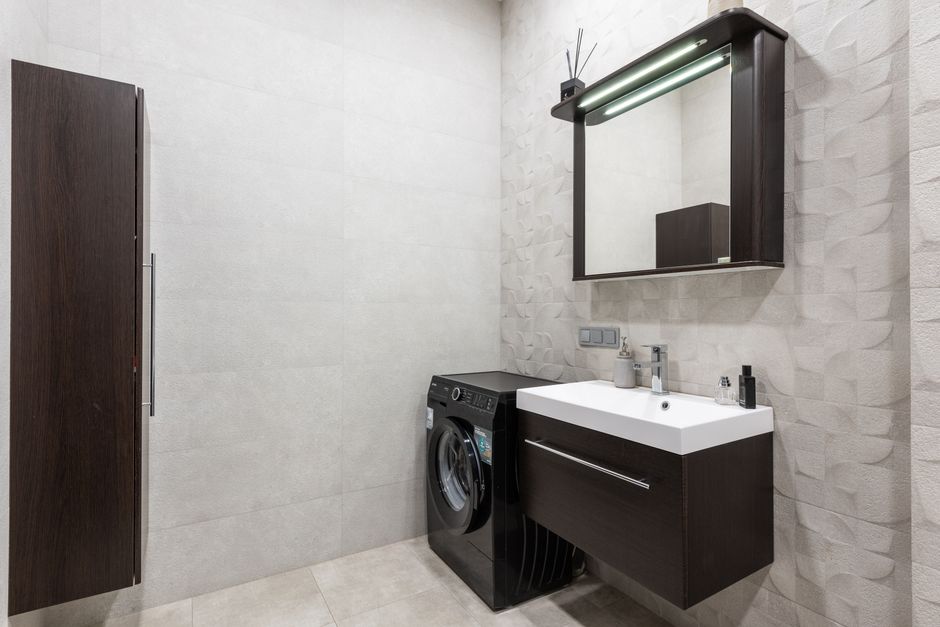
Installing a bathroom sink may seem like a complicated task, but with the right tools, guidance, and attention to detail, it's a manageable DIY project that can dramatically improve the aesthetics and functionality of your bathroom. In this comprehensive guide, we will walk you through the entire bathroom sink installation process, covering everything from preparation and plumbing to sealing and final touches.

Tools and Materials You’ll Need
Before we begin, gather the following tools and materials to ensure a smooth installation process:
Adjustable wrench
Basin wrench
Pipe wrench
Screwdriver set
Silicone caulk
Plumber’s tape
Bucket and rags
New bathroom sink (drop-in, undermount, or wall-mounted)
Faucet and drain assembly
Supply lines
Safety gloves and goggles
Step 1: Shut Off the Water Supply
Start by turning off the water supply valves beneath the sink. If there are no individual shutoff valves, turn off the main water supply to your home. Then, open the faucet to relieve any remaining pressure in the lines. Place a bucket under the sink to catch any residual water from the supply lines and P-trap.
Step 2: Remove the Old Sink
If you’re replacing an existing sink, proceed with removal:
1. Disconnect the water supply lines using an adjustable wrench.
2. Detach the drain assembly by loosening the slip nuts with a pipe wrench.
3. Use a utility knife to cut through the caulk sealing the old sink.
4. Gently lift the sink from the countertop or wall bracket.
Dispose of the old sink appropriately and clean the surface area to remove old caulk, grime, or adhesive.
Step 3: Prepare the Sink Installation Area
For a drop-in sink, ensure the countertop cutout matches the sink dimensions. For undermount sinks, make sure the support frame is ready and sealed correctly. If you're installing a wall-mounted sink, ensure the wall studs are reinforced to handle the weight of the new fixture.
Use a level to verify the installation surface is flat and plumb. Uneven surfaces can cause improper drainage or misalignment.
Step 4: Install the Faucet and Drain Assembly
Before mounting the sink:
1. Install the faucet on the sink deck following the manufacturer’s instructions. Tighten nuts securely using a basin wrench.
2. Apply plumber’s putty under the flange of the drain and press it into the drain hole.
3. From beneath, attach the rubber gasket and locknut, then tighten securely.
4. Insert the pop-up drain mechanism, ensuring it aligns with the faucet lift rod.
Installing these components while the sink is not yet mounted makes the process significantly easier.
Step 5: Mount the New Sink
For Drop-In Sinks
1. Apply a bead of silicone caulk around the perimeter of the countertop opening.
2. Carefully lower the sink into the opening, pressing down gently.
3. Wipe away excess caulk with a damp rag.
4. Secure the sink using mounting clips (if provided).
For Undermount Sinks
1. Position the sink under the countertop and hold it in place with a support system or helper.
2. Apply silicone around the edge where the sink meets the underside of the countertop.
3. Clamp it until the adhesive cures (usually 24 hours).
4. Install support brackets if necessary.
For Wall-Mounted Sinks
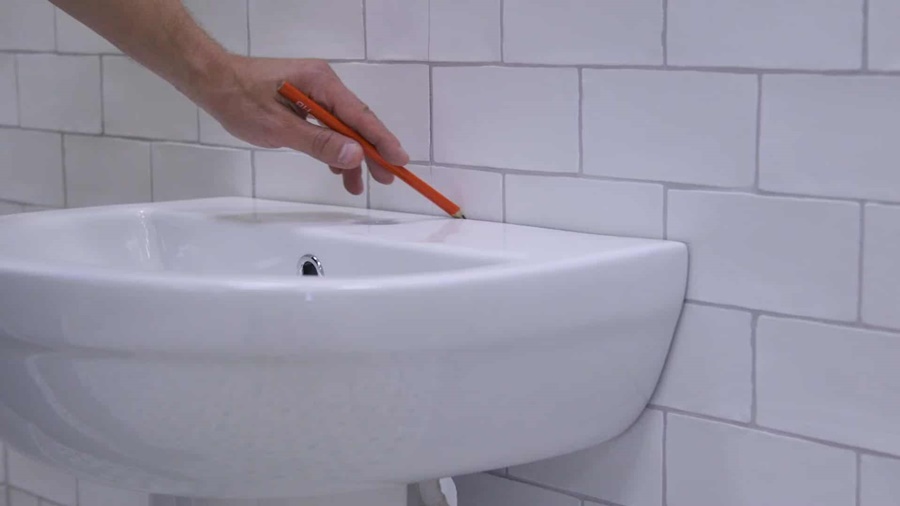
1. Use a level and pencil to mark mounting points on the wall.
2. Drill holes and insert wall anchors or lag bolts.
3. Hang the sink on its bracket or attach it with bolts.
4. Double-check for stability before proceeding.
Step 6: Connect Water Supply Lines
Once the sink is mounted securely:
1. Attach flexible water supply lines to the faucet and shutoff valves.
2. Use plumber’s tape on the threads to prevent leaks.
3. Tighten connections with an adjustable wrench do not overtighten.
Double-check both hot and cold water lines are connected to their respective valves.
Step 7: Install the Drain and P-Trap
1. Connect the tailpiece from the drain to the P-trap inlet.
2. Line up the P-trap with the wall drain and tighten all slip nuts by hand, then snug with a wrench.
3. Ensure all components are aligned to avoid leaks and ensure proper drainage.
4. Use plumber’s tape where necessary to ensure watertight connections.
Step 8: Seal the Edges and Test for Leaks
Run a fresh bead of silicone caulk around the sink’s edge (for drop-in or undermount installations) and smooth it with a caulking tool or finger. Allow to cure for at least 24 hours before exposing it to water.
Next:
Turn on the water supply.
Run both hot and cold water.
Check for leaks at every joint drain, supply lines, and P-trap.
Tighten any loose connections and dry up any drips.
Step 9: Final Touches and Clean-Up
Install any sink accessories (such as soap dispensers or aerators).
Polish the sink with a soft cloth and non-abrasive cleaner.
Dispose of packaging materials and old plumbing parts responsibly.
Let caulk cure completely before regular use.
Pro Tips for a Flawless Installation
Always measure twice before cutting or drilling.
Choose high-quality plumbing fittings to prevent future leaks.
If your faucet includes a gasket, you may not need plumber’s putty.
Use support brackets when installing heavier wall-mounted sinks.
Consider adding shutoff valves if your bathroom doesn’t already have them.
Common Mistakes to Avoid
Skipping leak tests can lead to water damage later.
Using excessive caulk or putty can cause mess and improper sealing.
Mismatched drain assemblies may not form tight seals.
Installing the sink before the faucet can limit working space.
Overtightening connections can crack components or strip threads.
When to Call a Professional
While DIY sink installation is doable for most homeowners, call a licensed plumber if:
Your existing plumbing is outdated or damaged.
The project involves cutting or rerouting pipes.
You’re installing a sink in a new location.
The wall structure cannot support a wall-mounted sink.
We cover remove bathroom sink drain step in more depth separately.
Conclusion
Installing a bathroom sink is a detailed yet rewarding project that elevates the look and usability of your space. By following this guide carefully and taking the time to prepare properly, you can achieve a professional-grade installation on your own. Always prioritize precision, safety, and quality materials to ensure long-lasting performance. If you're unsure about your water volume
Disclosure: Sanitarysupply.org receives an affiliate commission on some, but not all, of the products we recommend—but only if you decide to click through to the retailer's site and make a purchase.