
RV kitchen sink installation refers to the process of removing an old sink and replacing it with a new one in an RV or mobile home. Proper plumbing installation is crucial in an RV to avoid leaks and water damage. In this informative article, we will provide a step-by-step guide to help you install a new kitchen sink in your RV.
Choosing the Right RV Kitchen Sink
Choosing the right sink for your RV is crucial for a successful installation. Consider the following factors when selecting a sink:
Size
Measure the space where you decide to install the sink to ensure that the sink you choose will fit properly.
Material
Stainless steel is a popular choice for RV sinks due to its durability and ease of cleaning. However, other materials such as acrylic or porcelain may also work well depending on your needs.
Features
Consider what features you want in your sink, such as a single or double basin, a built-in cutting board, or a built-in drainboard.
Measuring the Space for the Sink
Before purchasing a sink, you'll need to measure the space where you plan to install it. Follow these steps to ensure accurate measurements of the sink.
Use a tape measure to measure the length, width, and depth of the area where you plan to install the sink.
Note any obstacles or obstructions that may affect the installation, such as pipes or electrical wiring.
Use your measurements to select a sink that will fit properly in the space.
Gathering Materials and Tools
To install your RV kitchen sink, you'll need the following materials and tools:
Sink
Faucet
Plumber's putty
Pliers
Wrench
Screwdriver
Tape measure
When selecting materials, be sure to choose ones that are specifically designed for use in RVs.
Preparing the Area for Installation
Before installing the sink, you'll need to prepare the area. Follow these steps:
Turn off the water supply or connection to the sink.
Disconnect the old sink and remove it from the area.
Clean the area thoroughly to remove any debris or residue.
Apply a thin layer of plumbers' putty to the bottom of the sink flange.
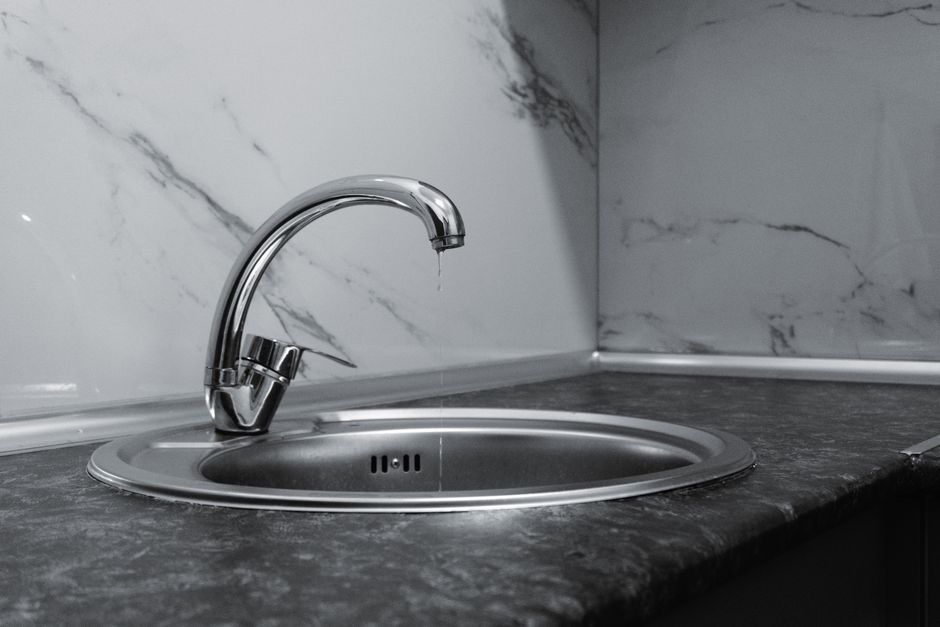
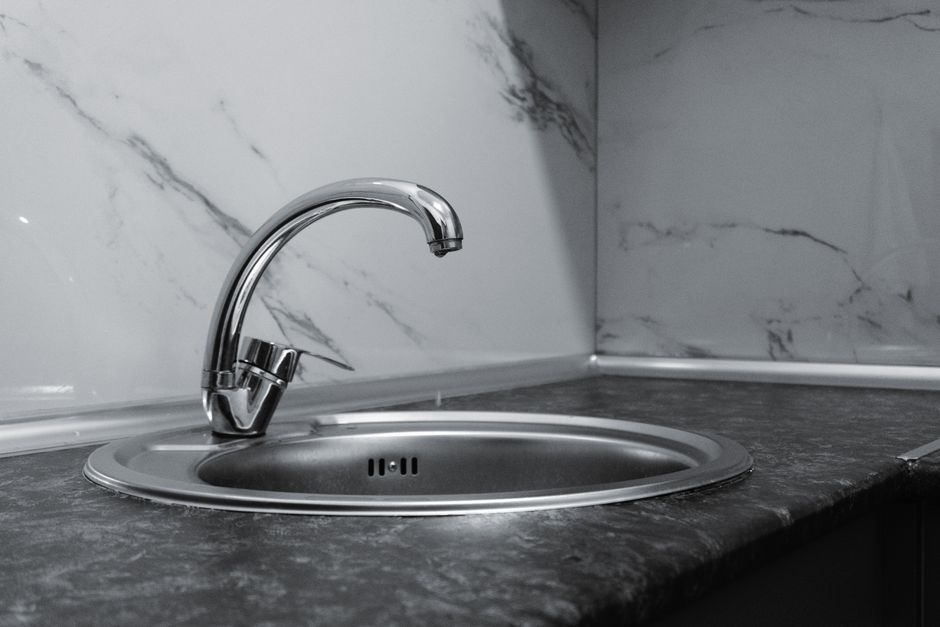
Installing the Sink
Now that the area is prepared, you're ready to install the sink. Follow these steps:
Place the sink into the opening in the countertop and press down firmly.
Use a wrench to tighten the mounting clips to secure the sink in place.
Apply a thin layer of silicone sealant around the edge of the sink to create a watertight seal.
Connecting the Plumbing
Once the sink is in place, it's time to connect the plumbing. Follow these steps:
Install the sink strainer by placing it into the drain hole and tightening the retaining nut.
Install the faucet by inserting it into the pre-drilled hole in the sink and tightening the mounting nut from underneath.
Now connect the water supply lines to the faucet.
Test the water supply lines for leaks by turning on the water and observe for any drips or leaks.
Testing the Installation
After connecting the plumbing, it's important to test the installation to confirm that everything is working properly. Follow these steps:
Fill the sink with water and let it drain to check for any leaks or clogs.
Check the faucet for proper water flow and temperature control.
If you notice any issues, troubleshoot them until the installation is working properly.
Maintenance and Care Tips
To keep your newly installed RV kitchen sink in good condition, follow these tips:
Clean the sink regularly with a non-abrasive cleaner.
Don't pour grease or other substances down the drain that could cause clogs.
Check the sink and plumbing regularly for signs of leaks or damage.
Repair any issues promptly to avoid further damage.
There is more on plumb a bathroom sink step elsewhere on the site.
If that matters to you, our piece on diy commercial kitchen faucet installation goes further.
Worth reading alongside this: step guide to diy clawfoot.
Worth reading alongside this: benefits of professional clawfoot tub.
We cover troubleshooting common clawfoot tub faucet in more depth separately.
Frequently Asked Questions
Q: How difficult is it to install a kitchen sink in an RV?
Installing a kitchen sink in an RV can vary in difficulty depending on your experience with plumbing and DIY projects. It typically involves cutting holes for the sink and faucet, connecting water lines, and securing the sink in place. With careful planning and following instructions, it's manageable for many DIY enthusiasts.
Q: What tools do I need for installing an RV kitchen sink?
Common tools needed include a drill with hole saw attachments, wrenches or pliers for tightening connections, silicone sealant for sealing the sink edges, and possibly a jigsaw for cutting countertop material.
Q: Can I use any sink for my RV, or are there specific requirements?
It's essential to choose a sink that fits the dimensions of your RV's countertop and cabinet space. Additionally, consider the weight of the sink and ensure it's compatible with your RV's weight capacity.
Q: How do I ensure a watertight seal around the sink?
Use silicone sealant to create a waterproof seal between the sink and countertop. Apply a bead of sealant along the edge of the sink before lowering it into place, then wipe away any excess sealant once the sink is installed.
Q: Do I need to secure the sink to the countertop or cabinet?
Yes, it's crucial to secure the sink to prevent movement while traveling. You can use mounting clips or brackets underneath the sink to attach it securely to the countertop or cabinet.
Conclusion
With these tips and tricks, you should be able to successfully install a kitchen sink in your RV. Remember to choose the right sink for your needs, measure the space accurately, gather all necessary materials and tools, prepare the area properly, install the sink carefully, connect the plumbing correctly, test the installation thoroughly, and maintain the sink regularly.