
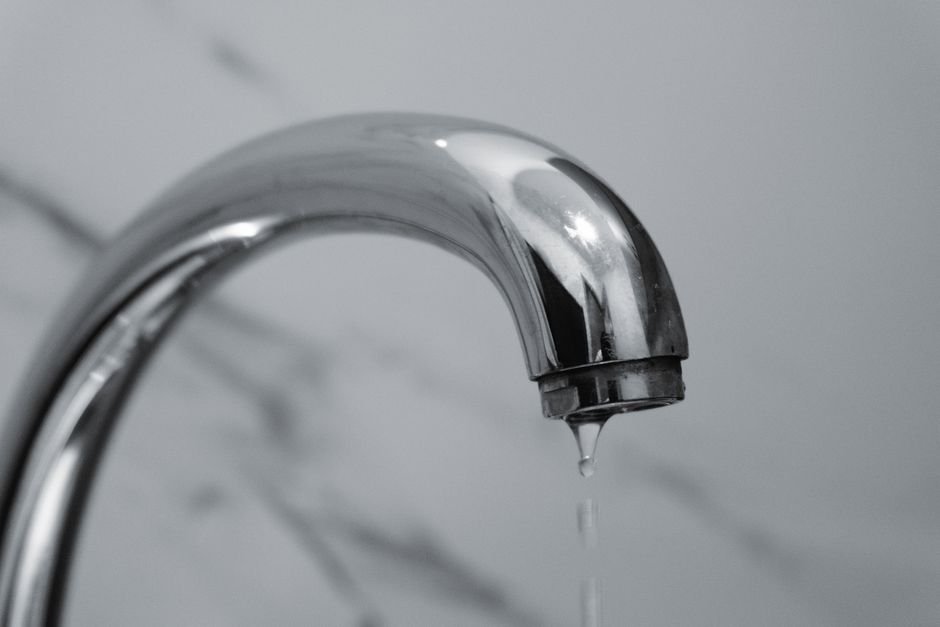
A dripping bathroom faucet can waste over 3,000 gallons of water each year, which translates to a hefty cost on your water bill. Fixing it promptly not only conserves water but also saves you money.
While the specifics can depend on the type of faucet you have, compression, cartridge, ball, or ceramic disc, the fundamentals of repair remain similar. I’ve tackled this issue before, so I can guide you through the process step by step.

Identifying the Cause of the Drip
Understanding the source of the leak is your first step. Most often, drips come from worn-out washers or seals, particularly in compression faucets, or a failing faucet cartridge in cartridge faucets. If your faucet has a steady drip, you can usually trace it back to one of these components.
A simple preliminary test is to check if the drip stops when you turn the handle slightly. If that’s the case, it’s a strong indication that the problem lies within the internal components. Take note of your faucet type to determine the right approach. This can save you time and unnecessary purchases later on.
Gathering Essential Tools and Materials
You’ll want to equip yourself with the right tools before diving into this repair. I recommend gathering the following:
- Screwdriver (flathead and Phillips)
- Adjustable wrench
- Replacement parts (washers, O-rings, or cartridge)
- Plumber’s grease
- Bucket or rag for catching water
Make sure to have specific parts ready; it could save you a trip to the hardware store mid-repair. You don’t want to be halfway through and then realize you need to run out to find a compatible faucet cartridge or a specific size washer.

Shutting Off the Water Supply
Before you start disassembling your faucet, turn off the water supply. Look for the shut-off valves under the sink. If your fixture doesn’t have individual shut-offs, you’ll need to turn off the main water supply for your home. Always double-check by turning on the faucet to ensure that the water flow is completely stopped.
Dismantling the Faucet
Now, it’s time to take the faucet apart. Use your screwdriver to remove any decorative caps, screws, or handles. Depending on the faucet type, you might need to remove multiple parts to access the washer or cartridge. If you’re unsure about the disassembly order, take pictures as you go along; that way, you won’t forget how to put it back together.
Once you expose the internal components, inspect them closely. Look for signs of wear, such as cracks or fraying on the washers and O-rings. If they look damaged, it’s time to replace them. If your faucet uses a cartridge, you might consider replacing the entire cartridge for a more complete repair.
Replacing Components and Reassembly
With the old components out, it’s time to install the new ones. If you’re replacing a washer or O-ring, make sure to apply plumber’s grease before inserting them to ensure a watertight seal. Insert the new cartridge or washer in the same orientation as the old one; correct positioning is crucial for proper operation.
After replacing the components, reassemble the faucet in the reverse order you took it apart. Make sure everything is secured but avoid over-tightening screws, as this can lead to damage.
Testing Your Repair
Once your faucet is reassembled, it’s time to test your work. Turn the shut-off valves back on slowly. Then, turn on the faucet to check for leaks. If everything looks good and the water flows freely without drips, congratulations, you’ve successfully fixed your faucet!
If you still hear dripping, you may need to take the faucet apart again and check whether you installed everything correctly or if another part needs replacing. Sometimes, the simplest things, like a misaligned O-ring, can lead to leaks.
The Importance of Prompt Repairs
Ignoring a dripping faucet might seem trivial, but it’s an issue that can escalate if not addressed promptly. First, that drip can lead to higher water bills and even water damage over time. A small problem can snowball into a major repair if left untreated. Overall, fixing a dripping bathroom faucet enhances water conservation, too, a necessity in today’s world. To learn more about dealing with faucet leaks effectively, check out faucet leak solutions.
If you find yourself frequently dealing with maintenance issues, consider checking out my article on troubleshooting bathroom fixture problems. It offers insights into other common issues you might encounter.
Final Thoughts: Tackling the Drip Yourself
For the best results, tackling the faucet yourself is advisable if you have basic DIY skills and tools. However, if the repair proves challenging or does not resolve the issue, hiring a professional plumber is the smart choice to avoid further damage.