Removing a bathroom sink drain may seem like a complex task, but with the right tools, technique, and preparation, it's a project any homeowner can handle efficiently. In this comprehensive guide, we break down every step in the process to help you safely and effectively remove a bathroom sink drain whether you're replacing it, clearing a clog, or upgrading your sink fixture.
Tools and Materials Required for Drain Removal
Before starting, it’s essential to gather all necessary tools to make the removal process smoother and cleaner.
Essential Tools:
Adjustable wrench or basin wrench
Tongue-and-groove pliers
Bucket or bowl
Plumber’s putty
Screwdriver (flat-head and Phillips)
Putty knife or scraper
Old rag or towel
Flashlight or work light
Optional Materials:
Penetrating oil (for rusted or stuck nuts)
Silicone sealant (if reinstallation is planned)
Replacement drain assembly (if removing permanently)
Step 1: Shut Off the Water Supply and Clear the Area
Before working under the sink, ensure safety and accessibility:
1. Turn off both the hot and cold water supply valves located under the sink.
2. Place a bucket or bowl beneath the drain to catch any residual water.
3. Remove any items stored under the sink to provide space for maneuvering.
4. Lay down an old towel or rag to protect your flooring and catch drips.
Step 2: Detach the Drain Stopper Mechanism
Most bathroom sinks come with a pop-up drain stopper that needs to be removed before accessing the actual drain assembly.
1. Locate the horizontal pivot rod at the back of the drainpipe under the sink.
2. Use pliers or your fingers to unscrew the retaining nut holding the pivot rod.
3. Once the nut is loose, pull out the pivot rod this will release the stopper.
4. Lift the stopper straight out of the drain from above the sink.
Tip: If the stopper is stuck, gently twist it while pulling upward.
Step 3: Loosen the P-Trap and Remove It
The P-trap is the curved section of pipe beneath your sink. It traps water to prevent sewer gases from entering your bathroom.
1. Using tongue-and-groove pliers, loosen the slip nuts on both ends of the P-trap.
2. Carefully remove the trap and pour out any water inside it into your bucket.
3. Set the P-trap aside for cleaning or disposal.
Note: Be prepared for unpleasant odors this part of the pipe often harbors residue.
Step 4: Unscrew the Lock Nut Holding the Drain Flange
The drain flange is the visible ring inside your sink bowl. Underneath it, a large lock nut holds it in place.
1. Locate the drain tailpiece—the vertical pipe coming down from the sink.
2. Use your wrench to loosen and remove the lock nut that secures the flange.
3. If the nut is corroded, apply penetrating oil and allow it to sit for a few minutes before trying again.
4. Once the nut is removed, push up gently on the tailpiece to loosen the flange.
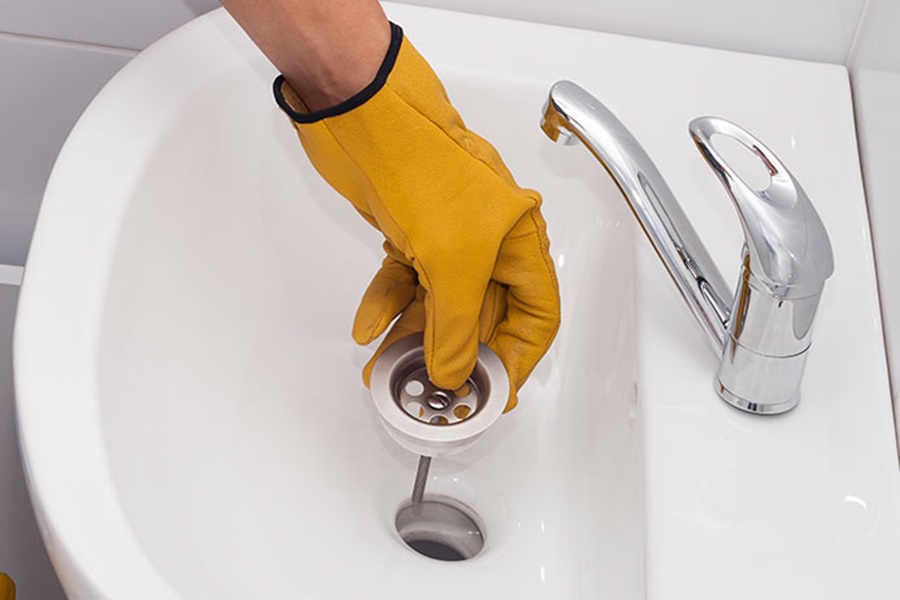
Step 5: Remove the Drain Flange from Above the Sink
1. From the top of the sink, grasp the drain flange and twist it counterclockwise.
2. If it’s sealed with plumber’s putty or silicone, use a putty knife to gently break the seal.
3. Lift the flange completely out of the sink.
Pro Tip: Clean off any old putty or debris before installing a new drain to ensure a tight, leak-free seal.
Step 6: Clean the Sink Drain Opening Thoroughly
With the drain flange and tailpiece removed, you now have full access to the sink’s drain hole.
1. Use a scraper or putty knife to remove residual plumber’s putty or adhesive.
2. Wipe the area with a clean rag and inspect for cracks or damage.
3. If you plan to reinstall a new drain, ensure the opening is dry and clean.
Step 7: Optional—Inspect and Replace Components
If you're removing the sink drain to replace it, now is the perfect time to inspect the drain assembly for wear and tear.
Check for corrosion on the tailpiece and flange.
Look for worn gaskets or cracked seals.
Consider upgrading to a modern push-button drain assembly for convenience and aesthetics.
Common Mistakes to Avoid During Drain Removal
Removing a bathroom sink drain can go wrong if you’re not careful. Watch out for these frequent errors:
Forcing corroded parts: Use penetrating oil and patience, not brute force.
Skipping the water shut-off: Always turn off valves to prevent flooding.
Reusing old gaskets or seals: Always install new components for a reliable fit.
Improper sealing: If reinstalling, ensure all joints are properly sealed with putty or silicone.
When to Call a Professional Plumber
While most homeowners can handle sink drain removal, you should consider professional help if:
The drain is rusted or fused and resists removal.
You notice significant pipe damage or leaks during the process.
The P-trap or drain pipes are non-standard or inaccessible due to cabinetry.
Conclusion
With careful planning, the right tools, and a step-by-step approach, removing your bathroom sink drain becomes a straightforward task. Whether you’re renovating your bathroom, fixing a clog, or upgrading fixtures, understanding the process helps you avoid plumbing issues and costly repairs in the future.