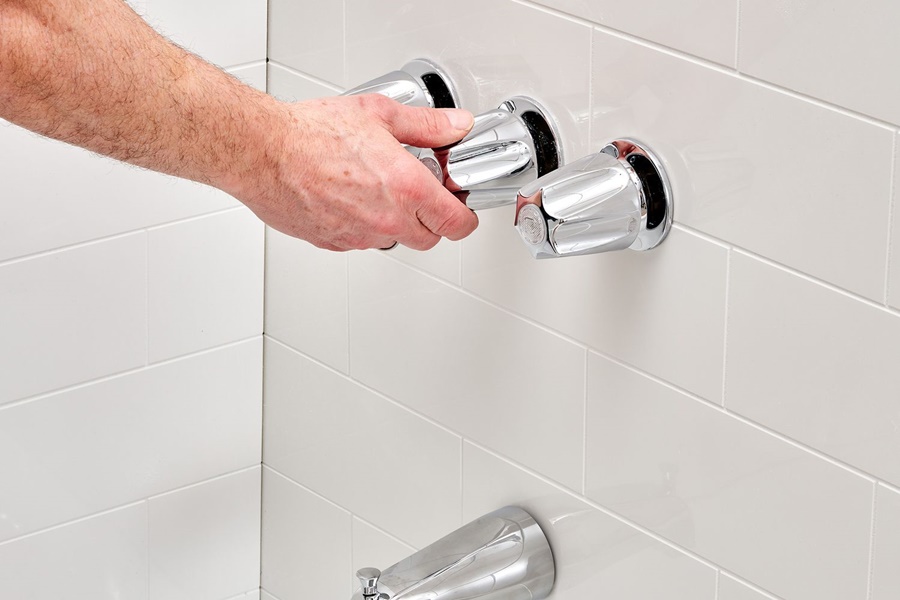
Removing a bathtub faucet handle may seem like a daunting task, but with the right tools and a methodical approach, it becomes a straightforward process. Whether you're replacing a damaged handle, upgrading to a more modern design, or performing maintenance, this comprehensive guide provides detailed steps to get the job done efficiently.
Tools and Materials Required
Before starting, ensure you have the necessary tools and materials on hand:
Flathead screwdriver
Phillips screwdriver
Allen wrench (hex key)
Adjustable wrench or socket wrench
Penetrating oil (e.g., WD-40)
Clean cloth
Towel or rag
Replacement handle (if needed)
Step 1: Turn Off the Water Supply
Before any plumbing task, safety comes first. Shut off the water supply to avoid leaks and accidental flooding.
Locate the main water shut-off valve for your bathroom or entire home.
Turn the valve clockwise to stop water flow.
Turn on the bathtub faucet to release residual pressure and confirm the water is off.
Step 2: Plug the Drain
Use a drain stopper or rag to plug the tub’s drain.
This prevents small screws or components from falling into the drain.
It also helps keep your work area tidy and organized.
Step 3: Identify the Faucet Handle Type
Faucet handles vary by manufacturer and design, but the most common types include:
Single-knob handles
Lever-style handles
Cross-style handles
Each type requires a slightly different approach for removal.
Step 4: Locate and Remove the Set Screw
Most faucet handles are attached with a set screw, typically hidden under a decorative cap.
1. Look for a plastic or metal cap on the face or underside of the handle.
2. Use a flathead screwdriver to gently pry off the cap.
3. With the cap removed, locate the set screw inside the handle.
4. Use a Phillips screwdriver or Allen wrench, depending on the screw type, to loosen it.
5. Turn the screw counterclockwise until the handle detaches from the stem.
Note: Some handles may have corroded or stuck screws. Apply penetrating oil and wait 10–15 minutes if the screw doesn’t budge.
Step 5: Pull Off the Handle
Once the screw is removed, gently pull the handle away from the wall or the faucet stem.
If the handle is stuck due to mineral buildup or corrosion, use a handle puller tool.
Avoid using excessive force, which may damage the plumbing.
Step 6: Inspect and Clean the Faucet Stem
After removing the handle, inspect the faucet stem or cartridge.
Look for rust, mineral deposits, or wear.
Use a cloth and vinegar solution to clean buildup from the exposed area.
If the faucet leaks, now is a good time to consider replacing the stem or cartridge as well.
Step 7: Remove Decorative Trim (If Needed)
In some installations, the decorative escutcheon plate or trim ring may need to be removed for further repair or handle replacement.
Look for mounting screws on the plate.
Remove them with a screwdriver.
Pull the trim plate away from the wall gently.
Clean behind the plate for a thorough job.
Step 8: Replace or Reinstall the Faucet Handle
If you're installing a new handle:
1. Align it with the stem or cartridge properly.
2. Slide the handle onto the stem until it fits snugly.
3. Reinsert the set screw and tighten it securely.
4. Reattach the decorative cap.
If you're reinstalling the old handle:
Make sure it’s clean and in good condition.
Follow the same steps to reattach it securely.
Step 9: Restore Water Supply and Test the Faucet
With the handle installed:
1. Open the main water valve.
2. Turn on the bathtub faucet.
3. Check for leaks, proper operation, and alignment.
4. Ensure the handle turns smoothly and shuts off the water completely.
Pro Tips for Bathtub Faucet Handle Removal
Use a flashlight to locate hidden screws in dim lighting.
If the handle won’t come off, try a hairdryer to warm the area, which can loosen mineral deposits.
Always take photos before disassembly—this helps during reassembly.
Avoid using metal tools directly on visible parts to prevent scratches.
When to Call a Professional
While most bathtub faucet handle removals are DIY-friendly, contact a plumber if:
The handle or screw is completely stuck.
There's excessive corrosion or broken components.
You suspect an issue with the internal valve or cartridge.
You’re dealing with a complex or multi-handle system.
Common Issues and Their Solutions
| Issue | Solution |
|---|---|
| Set screw is stripped | Use a screw extractor or drill carefully |
| Handle stuck due to corrosion | Apply vinegar or penetrating oil, wait, then wiggle gently |
| Faucet still leaking after handle removal | Replace internal valve, stem, or cartridge |
| Broken decorative cap | Find a matching replacement online or at a hardware store |
Maintenance Tips to Prevent Future Problems
Clean the faucet regularly with mild soap and water to prevent buildup.
Use white vinegar to dissolve hard water deposits.
Avoid overtightening the handle during daily use.
Periodically check for loose screws or leaks.
Conclusion
Removing a bathtub faucet handle is a manageable task with the right guidance and tools. Whether you're upgrading your bathroom fixtures or performing maintenance, following these steps ensures a smooth, professional-quality result. A properly functioning faucet handle not only improves your bathroom’s appearance but also prevents future plumbing issues.

