When it comes to upgrading or repairing your bathroom plumbing, knowing how to remove a Delta bathroom faucet is essential. Whether you're dealing with a leaky faucet or planning a full renovation, a clean and precise removal process ensures a smooth transition to your new fixture. In this comprehensive guide, we’ll walk you through each detailed step to remove your Delta bathroom faucet safely and effectively, without damaging your sink or countertop.
Tools and Supplies You Will Need
Before starting, gather the following tools and materials to make the removal process efficient and safe:
Adjustable wrench
Basin wrench
Screwdrivers (Phillips and flathead)
Allen wrench set
Bucket or small container
Towel or rag
Penetrating oil (like WD-40)
Plumber’s tape (Teflon tape)
Step 1: Shut Off the Water Supply
Locate the shut-off valves under your sink. Turn the hot and cold water valves clockwise until they are fully closed. To ensure all water is drained, turn on the faucet and let any remaining water run out into the sink.
Tip: Place a bucket under the sink to catch any remaining water from the supply lines during disconnection.
Step 2: Disconnect the Water Supply Lines
Use an adjustable wrench to carefully loosen the compression nuts connecting the water supply lines to the faucet. If the nuts are corroded or stuck, apply penetrating oil and wait a few minutes before trying again.
Important: Be cautious not to strip or damage the threads when loosening the nuts.
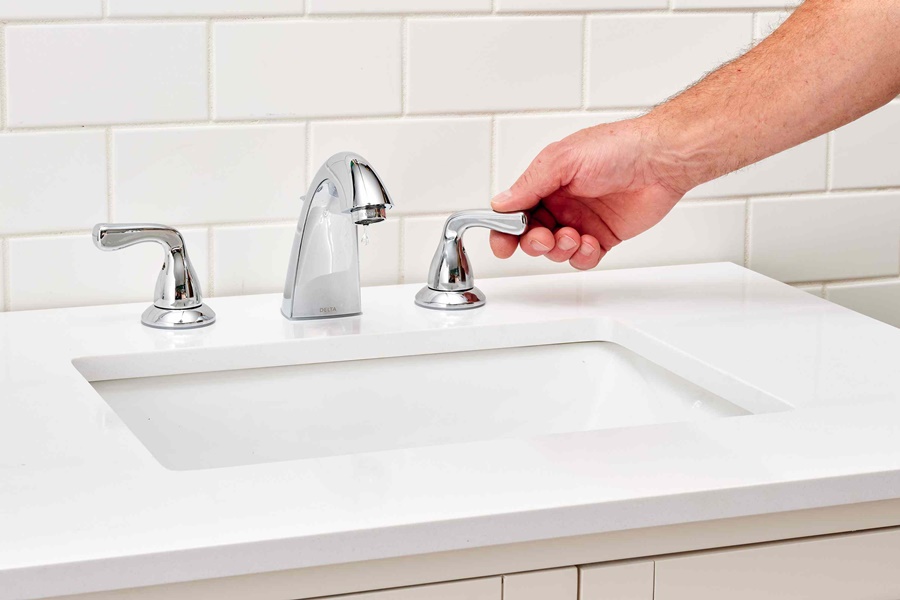
Step 3: Remove the Faucet Handle(s)
Delta bathroom faucets typically feature lever-style or knob-style handles secured with a hidden set screw.
For lever handles, locate the small set screw usually on the side or under a decorative cap.
Use the appropriate Allen wrench to loosen and remove the screw.
Gently pull the handle away from the faucet body.
Repeat for the second handle if it’s a two-handle faucet.
Step 4: Detach the Faucet Trim and Spout
Once the handles are removed, you can proceed to disassemble the spout and faucet trim:
Remove any visible screws holding the spout in place.
Twist and lift the spout to detach it from the base.
If there are escutcheons or decorative plates, gently pry them off using a flathead screwdriver.
Caution: Place a rag between the tool and surface to avoid scratching your sink.
Step 5: Unscrew the Mounting Hardware
From beneath the sink, locate the mounting nuts or brackets securing the faucet to the sink or countertop. Use a basin wrench to reach and loosen these nuts.
Once loosened, unscrew and remove them completely.
Carefully lift the faucet body from above the sink.
If the faucet doesn’t come off easily, it may be sealed with silicone or plumber’s putty. Use a plastic putty knife to gently break the seal.
Step 6: Remove the Drain Assembly (If Needed)
If you're replacing the entire faucet set including the drain, follow these steps:
Loosen the pivot rod nut on the drain pipe.
Unscrew the drain flange from the top of the sink using pliers or a wrench.
Remove the drain body from underneath the sink.
Clean any old putty or silicone from the drain area to prep for installation.
Step 7: Clean the Faucet Area Thoroughly
Once the faucet is removed, clean the sink deck or countertop surface to remove:
Old caulk
Plumber’s putty residue
Water stains or grime
Use a mild cleaner and a non-abrasive sponge to ensure a clean surface for your new faucet installation.
Troubleshooting Common Issues During Faucet Removal
Stuck Mounting Nuts
Apply penetrating oil and let it sit for 10–15 minutes.
Use a basin wrench for better leverage.
Tap lightly with a rubber mallet to loosen corrosion.
Handle Set Screw Stripped
Use a screw extractor tool.
Drill into the center of the screw carefully and twist it out with a reverse bit.
Hard Water Corrosion
Use vinegar-soaked rags to dissolve mineral build-up.
Let sit for 30 minutes before scrubbing gently with a brush.
Different Types of Delta Faucet Mounts
Single-Hole Mount
Easier to remove with a single mounting nut.
Found in modern minimalist designs.
Center-Set Mount
Includes three holes but fixed on a 4-inch base.
Requires disassembly of both handles and center spout.
Widespread Mount
Three separate components with individual mounting hardware.
Access and remove each section separately under the sink.
Safety Tips When Removing a Faucet
Always cut the water supply first.
Wear gloves and safety glasses to protect against debris.
Don’t force parts that are stuck apply lubricant and use appropriate tools.
Keep a towel and container ready for unexpected leaks.
When to Call a Professional
If you encounter any of the following, it may be time to consult a licensed plumber:
Severely corroded plumbing
Cracked supply lines
Hard-to-reach mounting hardware
No shut-off valve access
Professionals have specialized tools to avoid damaging your fixtures or plumbing.
Preparing for the New Faucet Installation
Before installing a new faucet, verify the following:
Hole spacing compatibility with your new faucet.
Condition of shut-off valves and supply lines—replace if old or damaged.
Availability of all installation parts, including rubber gaskets, washers, and hardware.
Use plumber’s tape on threaded connections for leak prevention and always follow the manufacturer’s instructions during installation.
Conclusion
Removing a Delta bathroom faucet can be straightforward if you follow a systematic approach and use the proper tools. Whether you're upgrading to a modern fixture or addressing a leak, this guide provides all the detailed steps needed to complete the job efficiently. With careful preparation and attention to detail, you can confidently handle the removal process and prepare your sink for a seamless new faucet installation.