

How to Remove Toilet Seat Easily and Efficiently in Simple Steps: Using just a wrench and a screwdriver, you can remove any toilet seat in under 10 minutes. This straightforward process will guide you through upgrading or replacing a damaged toilet seat without the hassle, ensuring a smooth installation with minimal effort.
Tools You Will Need for Toilet Seat Removal
Before starting, gather the following essential tools to ensure a smooth operation:
Adjustable wrench or socket wrench
Rubber gloves
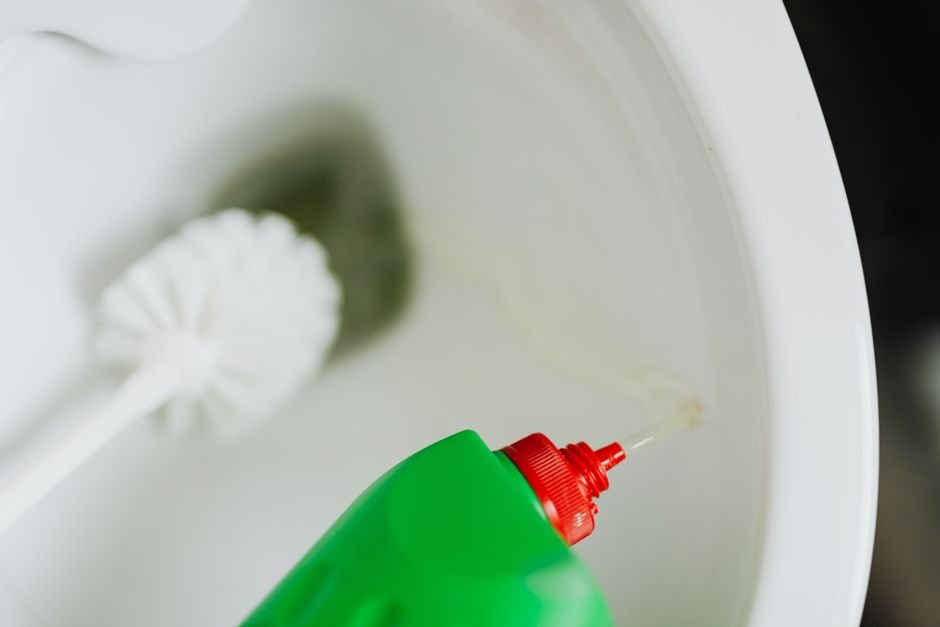
Penetrating oil (WD-40 or similar)
Cleaning cloth or sponge
Bucket or towel (to protect the floor from residue or water)
Identifying the Type of Toilet Seat Mounting
Toilets can feature different mounting systems. Understanding your toilet seat type is crucial for proper removal.
1. Standard Bolt-On Toilet Seats
These are the most common, with two plastic caps at the back of the seat. Underneath, you'll find bolts secured with plastic or metal nuts.
2. Quick-Release Toilet Seats
Modern designs may use quick-release buttons or levers that allow for tool-free removal.
3. Top-Fix Toilet Seats
These are mounted from the top, often found in concealed or modern toilets where access to the underside is restricted.
Step-by-Step Instructions to Remove a Toilet Seat
Step 1: Locate the Seat Bolts
Look at the back of the toilet seat, where the seat connects to the bowl. You'll find two caps—pop these open using a flathead screwdriver to expose the bolts.
Step 2: Apply Penetrating Oil if Necessary
If your toilet seat bolts appear rusted or stuck, spray a generous amount of penetrating oil around the base. Let it sit for 10–15 minutes to loosen corrosion.
Step 3: Unscrew the Bolts
Hold the nut underneath the toilet (behind or beneath the bowl) with a wrench, and turn the bolt counterclockwise using your screwdriver from the top. Keep the pressure even to avoid cracking the porcelain.
If you cannot access the underside due to toilet design, consider using a top-fix screwdriver bit or specialty wrench for tight spaces.
Step 4: Remove the Old Seat
Once both bolts are removed, simply lift the toilet seat upward. Some older models may have a bit of adhesive residue, which you can clean off with a mild cleaner and sponge.
Step 5: Clean the Mounting Area Thoroughly
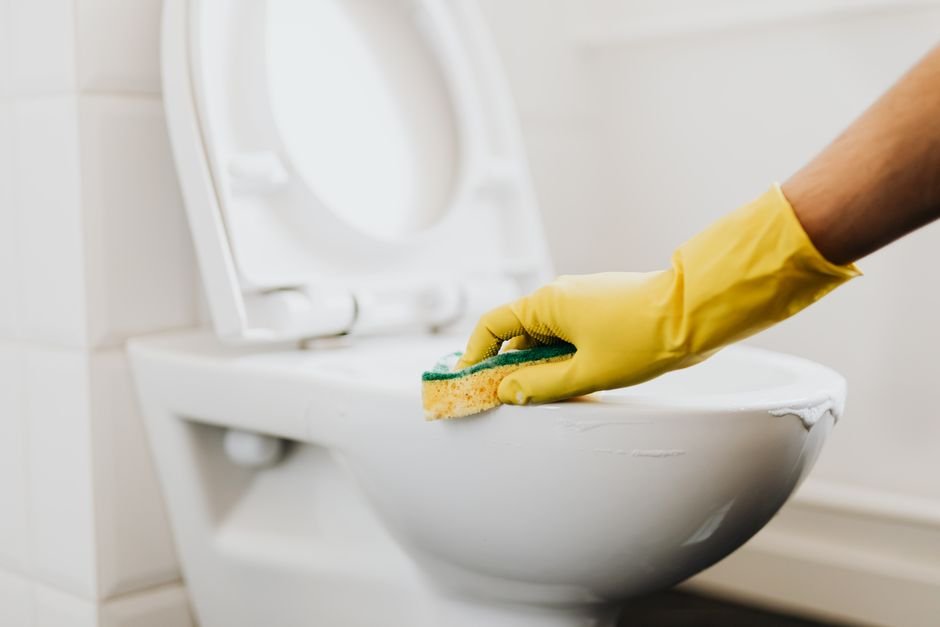
Before installing a new seat, use disinfectant and a sponge to remove any grime or buildup from the exposed porcelain. This ensures proper alignment and sanitation.
Tips for Removing Stubborn or Rusted Toilet Seat Bolts
If the bolts are rusted or the nuts are fused:
Use a hacksaw blade to carefully cut through the bolt. Always wear gloves and avoid scratching the porcelain.
Apply heat with a hair dryer to loosen stubborn plastic nuts.
Use a nut splitter for corroded metal bolts.
Avoid forcing the bolts, as this can crack the toilet base and lead to costly repairs.
How to Remove a Quick-Release Toilet Seat
Step 1: Locate the Quick-Release Mechanism
Many modern toilet seats feature buttons or sliders located on the hinge covers.
Step 2: Press or Slide the Release
With gloves on, press the button or slide the tab to release the seat from the mount. You may need to wiggle the seat slightly to detach it fully.
Step 3: Clean and Inspect
Clean the mount points and check for damage before installing a replacement seat.
How to Remove a Top-Fix Toilet Seat
Step 1: Open the Bolt Covers
Top-fix seats have bolt covers that you’ll need to pop open using a screwdriver.
Step 2: Unscrew from Above
Use a screwdriver or Allen key, depending on the seat type, to remove the bolts from the top of the toilet bowl. You may need to pull out rubber grommets as well.
Safety and Maintenance Tips
Always wear gloves to protect against bacteria.
If using harsh cleaners, ensure proper ventilation.
Take a photo of the original setup if you’re uncertain about reassembly later.
When to Replace a Toilet Seat Instead of Repairing It
Sometimes, removal isn't just for cleaning—it’s time to upgrade. Consider replacing your toilet seat if:
It’s cracked or discolored
The hinges are broken or constantly loosen
You're upgrading to soft-close or bidet attachments
How Long Does It Take to Remove a Toilet Seat?
For most standard installations, the process takes 10–30 minutes. For rusted or concealed bolts, allow extra time for lubrication or cutting.
Choosing the Right Replacement Toilet Seat
When shopping for a new seat, match:
Shape: Round or elongated
Mounting type: Top-fix or standard
Features: Soft-close, quick-release, heated, bidet, etc.
Double-check measurements for bolt spacing (typically 5.5 inches) and seat dimensions.
Common Mistakes to Avoid
One frequent error is using excessive force when unscrewing bolts. This can strip the bolts, making removal difficult. Instead, apply steady pressure and consider using penetrating oil for stubborn bolts.
Another mistake is neglecting to check the type of mounting before starting. Each toilet seat type requires a different approach. Familiarize yourself with the specific mechanism to avoid wasting time.
Lastly, many forget to clean the surface thoroughly after removal. Not only does this create a hygienic environment, but it also ensures effective installation of your new seat. For more details on the process, check out this guide on how to remove toilet seat.
If that matters to you, our piece on tankless toilet tested amp reviewed goes further.
Conclusion
Removing a toilet seat doesn’t require plumbing expertise just the right tools, techniques, and patience. Whether dealing with a standard or high-tech model, following the detailed steps in this guide ensures a hassle-free removal process.