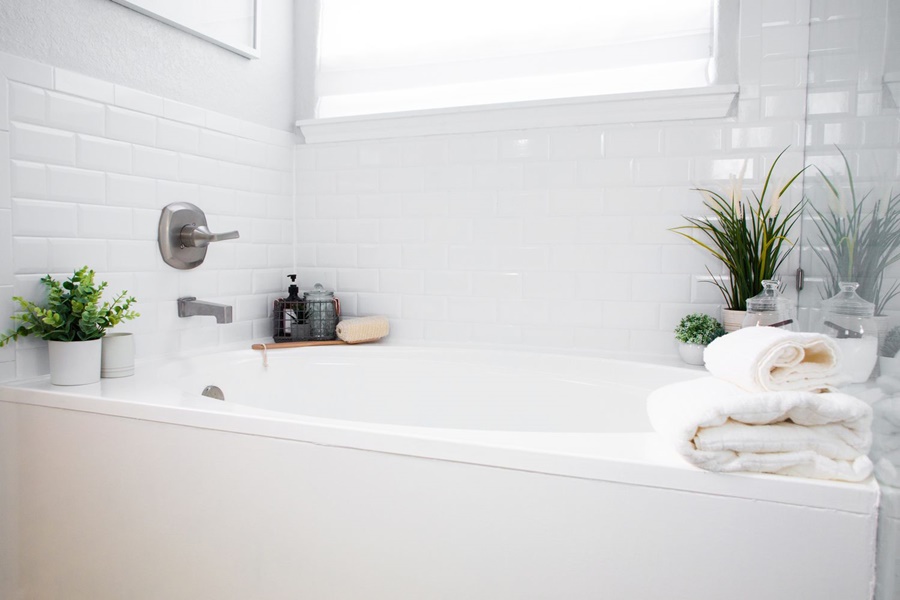
Resurfacing a bathtub is a cost-effective way to restore its appearance and functionality without the high expense of a full replacement. Whether you’re looking to revive an outdated color, repair minor damages, or simply refresh a dull finish, this guide provides everything you need to know. We walk you through every step, tip, and material required for a successful bathtub refinishing project.
What Is Bathtub Resurfacing?
Bathtub resurfacing, also known as refinishing or re-glazing, involves cleaning and repairing the surface of a bathtub, then applying a new coating that makes it look brand new. This method can be used on various tub materials including porcelain, fiberglass, acrylic, and enamel-coated cast iron.
Benefits of Bathtub Resurfacing
Cost-effective: Typically 75% less than a full replacement.
Time-saving: Most resurfacing projects can be completed within a day.
Durability: A well-refinished tub can last 10–15 years.
Aesthetic enhancement: Modern coatings offer a glossy, fresh appearance.
Tools and Materials Required
Before starting, gather the following materials:
Heavy-duty cleaner/degreaser
Painter’s tape and plastic sheeting
Sandpaper (80–120 grit) or an etching cleaner
Bonding agent or primer
Epoxy or acrylic urethane refinishing kit
Respirator mask and protective gloves
Ventilation fan
Putty knife and filler for cracks
High-quality paint roller or spray gun
Step-by-Step Process to Resurface a Bathtub
1. Prepare the Work Area
Before doing anything else, ensure proper ventilation in your bathroom. Open windows, turn on an exhaust fan, and seal off nearby areas with plastic sheeting to prevent fumes from spreading. Cover tiles, faucets, drains, and floors using painter’s tape and drop cloths.
2. Deep Clean the Bathtub Surface
Thorough cleaning is crucial. Use a heavy-duty degreaser or tub cleaner to remove soap scum, oils, and residues. Scrub all surfaces vigorously and rinse thoroughly. The cleaner the tub, the better the new coating will adhere.
Pro Tip: Don’t skip cleaning. Any remaining dirt will prevent proper bonding of the new finish.
3. Repair Chips, Cracks, and Imperfections
Inspect the surface carefully. Use a two-part epoxy filler or bathtub repair kit to fill any chips, holes, or deep scratches. Allow it to dry completely before sanding smooth with 120-grit sandpaper. This ensures a level surface for refinishing.
4. Sand or Etch the Surface
This step helps the primer and topcoat bond to the existing surface.
For porcelain or enamel tubs: Use 80–100 grit sandpaper to roughen the surface.
For fiberglass or acrylic tubs: Apply an etching agent to dull the glossy finish.
Thorough sanding is essential skip this and the coating may peel.
5. Rinse and Dry Thoroughly
After sanding or etching, rinse the tub with clean water to remove all dust and residue. Dry completely using lint-free towels or a hairdryer. Moisture will prevent proper adhesion and could ruin the finish.
6. Apply the Bonding Agent
A bonding agent (adhesion promoter) is key for ensuring the refinishing product sticks to the surface. Use a sponge brush or cloth to apply a thin, even coat. Let it sit for 10–15 minutes or as recommended by the product instructions.
7. Mix and Apply the Topcoat
Most resurfacing kits include a two-part epoxy or acrylic urethane coating. Mix according to instructions and apply it with a foam roller or HVLP spray gun for the best finish.
Apply two to three thin coats, allowing proper drying time between each coat (usually 30–45 minutes).
Important: Use a respirator mask fumes from the topcoat can be harmful in enclosed areas.
8. Allow Curing Time
After applying the final coat, allow the bathtub to cure for at least 24–48 hours, depending on the manufacturer’s directions. Avoid touching or using the tub during this period. Proper curing ensures a hard, glossy finish that resists chips and peeling.
Post-Refinishing Care Tips
Once your tub has been resurfaced, follow these maintenance tips to extend its life:
Avoid abrasive cleaners: Use mild, non-abrasive cleaning solutions.
Use a soft sponge or cloth: Avoid steel wool or hard scrub brushes.
Don’t use bath mats with suction cups: They can lift the finish over time.
Repair chips promptly: Use a repair kit for minor damage before it spreads.
Avoid standing water: Keep the tub dry when not in use to prevent mildew.
When to Call a Professional
DIY resurfacing is possible, but consider hiring a pro if:
The tub has extensive damage (deep cracks or rust).
You don’t have proper ventilation or protective gear.
You want a longer-lasting commercial-grade finish.
Professionals use specialized materials and high-power sprayers for smoother, more durable results.
Common Mistakes to Avoid
Skipping surface prep: Always clean and sand thoroughly.
Applying thick coats: Thinner coats reduce drips and cure more evenly.
Rushing the cure time: Be patient—using the tub too early can ruin the finish.
Inadequate ventilation: Always ensure fresh airflow to protect your health and finish quality.
Conclusion
Resurfacing your bathtub is a smart, affordable way to revitalize your bathroom. With proper tools, preparation, and attention to detail, you can restore shine, improve durability, and enhance aesthetics without the price tag of a full replacement. Whether you choose to DIY or hire a professional, the results can be transformative.

