
Waterproofing a bathroom can cost upwards of $1,000 if done incorrectly. A common mistake is skimping on materials, which often leads to costly mold and water damage later. Here’s how to effectively waterproof your bathroom to avoid these pitfalls.
First, I want to clarify that waterproofing isn’t just about slapping on some sealant and hoping for the best. It requires careful planning, the right materials, and awareness of common pitfalls that can derail your efforts. By understanding these factors, you can create a bathroom that’s not just stylish but also water-resistant.
What You Need to Know Before Starting
One of the most common mistakes people make is overlooking preparation. You can’t just apply waterproofing materials over old paint, patchy finishes, or weak substrates. I’ve learned that properly preparing the surfaces in your bathroom is crucial. Start by removing old finishes and cleaning the areas where you’ll apply waterproofing products.
This will ensure a solid bond and longevity for your waterproofing efforts.
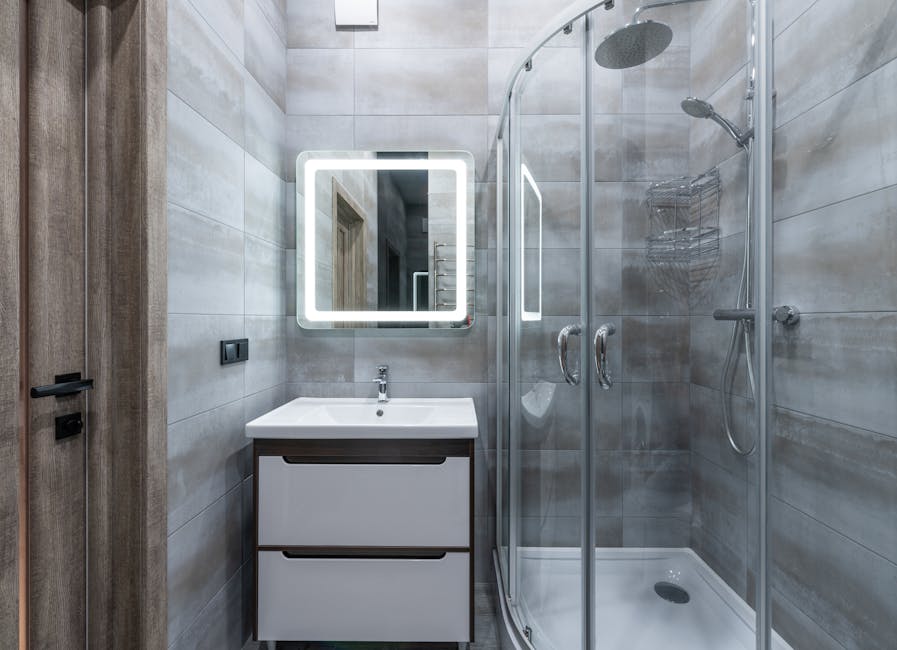
You should also consider moisture-prone areas, such as around bathtubs and showers, where you need extra attention. I recommend implementing a waterproofing membrane in these regions, which acts as an additional barrier against water seepage. Finding materials specifically designed for your bathroom layout is crucial. Options like liquid membranes or sheet membranes each have their own advantages, depending on your situation.
Best Materials for Waterproofing
Let’s talk about the types of materials you should consider. One of the best products for those looking to waterproof a bathroom is a cementitious waterproofing compound. While applications vary, it typically provides solid protection against water intrusion. I’ve found that the price point on these materials often reflects their effectiveness, higher-quality compounds tend to last longer.
Another essential product is tile sealant. Often, people think a simple layer will suffice, but the truth is that proper application of sealant can greatly reduce the risk of moisture issues beneath your tiles. If you’re tiling the bathroom, ensure you seal all the joints, particularly in areas subject to heavy water use, like the shower.
You don’t want to face cracked tiles down the line, which can lead to expensive repairs. For those wondering about alternatives, consider also looking at waterproofing paints that offer good protection and are easy to apply.

Steps to Waterproof Your Bathroom
Now let’s get into the specifics of how to actually waterproof your bathroom. First, prepare the surfaces by cleaning them thoroughly. Next, if you’re using liquid membrane, apply it with a roller or brush to the floor and walls of the shower area. Ensure that you create a continuous film, as any breaks might allow water to penetrate.
For areas around the bathtub or sink, install corner profiles to further reinforce the waterproofing layer. After putting down your membrane, allow it to dry as instructed on the product label, this can take several hours, but it’s a crucial step. Once dry, you can then apply your tiles and seal the joints using high-quality grout and an appropriate sealant.
Ongoing Maintenance and Prevention
Even once you’ve waterproofed your bathroom, ongoing maintenance is a must. Regularly check for signs of mold or moisture buildup, particularly in corners and around fixtures. Using exhaust fans while showering can help keep the air dry, and ensuring proper ventilation not only prevents mold but enhances the life of your waterproofing efforts.
Additionally, if you’re ever faced with leaking fixtures, addressing leaks immediately is essential. If you’re uncertain about fixing leaks yourself, I’ve written a guide that outlines step-by-step repairs which I recommend checking out.
Final Recommendations
Invest in a high-quality waterproof membrane if you plan to do it yourself, as it’s the most reliable option for durability. For those who prefer a hands-off approach, hiring a professional contractor is best, ensuring a thorough and expert job that will save you time and stress.
For more, read about bathroom lighting.
For additional insights on how to waterproof a bathroom, exploring various methods and materials can also be beneficial.