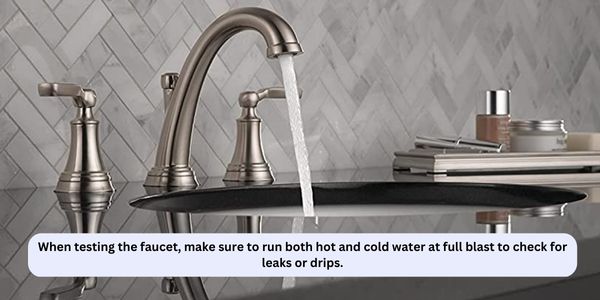
Numerous homeowners favor widespread bathroom faucets due to their elegant and modern design. Proper installation is crucial to ensure that the faucet performs well and does not leak. This article will demonstrate step-by-step how to install a wide bathroom faucet.
Tools and Materials

Ensure you have all the required equipment and materials before beginning the installation process. Here is a list of necessities:
- Adjustable wrench
- Basin wrench
- Phillips screwdriver
- Plumber's putty or silicone caulk
- Teflon tape
- New widespread bathroom faucet
Removing the Old Faucet

- Turn off the sink's water supply.
- Use a wrench to loose and remove the faucet's mounting nuts.
- Remove any remaining silicone or putty and lift the old faucet from the sink.
Installing the New Faucet

- Put the plumber's putty or silicone caulk on the faucet's base.
- Place the new faucet in the sink and fasten it in place using the mounting nuts.
- Connect the water supply lines to the respective valves, ensuring that Teflon tape is used to avoid leaks.
- Carefully tighten the mounting bolts with a basin wrench so as not to damage the sink or faucet.
A Pro Tip
A pro installation tip for a widespread bathroom faucet is ensuring sufficient space to work comfortably. Remove any clutter under the sink and illuminate the area with a flashlight. It will facilitate the installation process and prevent inadvertent damage to the sink or faucet.
Testing and Finishing Up

- Turn on the sink's water supply and examine the base of the faucet for leaks.
- If there are no leaks, open the faucet and allow the water to flow for a few minutes to flush away any debris.
- Check the functionality of the handles and adjust the water temperature as necessary.
- Enjoy your new widespread bathroom faucet after removing any excess caulk and putty.
Closing
With the correct equipment and instructions, installing a broad bathroom faucet is an easy do-it-yourself project. Modernize your bathroom and add a touch of elegance to your sink by following these steps.

