A leaking pipe under the bathtub is not just a nuisance it can cause severe water damage, mold growth, and even structural issues if left unchecked. Whether it’s a slow drip or a significant leak, addressing the problem quickly and correctly is essential. This comprehensive guide will walk you through how to locate, diagnose, and fix a leaking pipe under your bathtub, ensuring a lasting and secure repair.
Identifying the Signs of a Leak Under the Bathtub
Before diving into the repair, it's crucial to confirm that the leak is indeed coming from a pipe beneath the bathtub. Look for these common indicators:
Water stains on ceilings below the bathroom
Warped flooring or bubbling paint near the tub
Musty odors caused by hidden mold growth
Visible water pooling around the bathtub or underneath access panels
If any of these signs are present, it's time to investigate further.
Shut Off the Water Supply
Before beginning any repair, turn off the water supply to avoid further damage or flooding. Locate the main water shut-off valve in your home and turn it off completely. Then, open a faucet at a lower level in your home to relieve water pressure in the pipes.
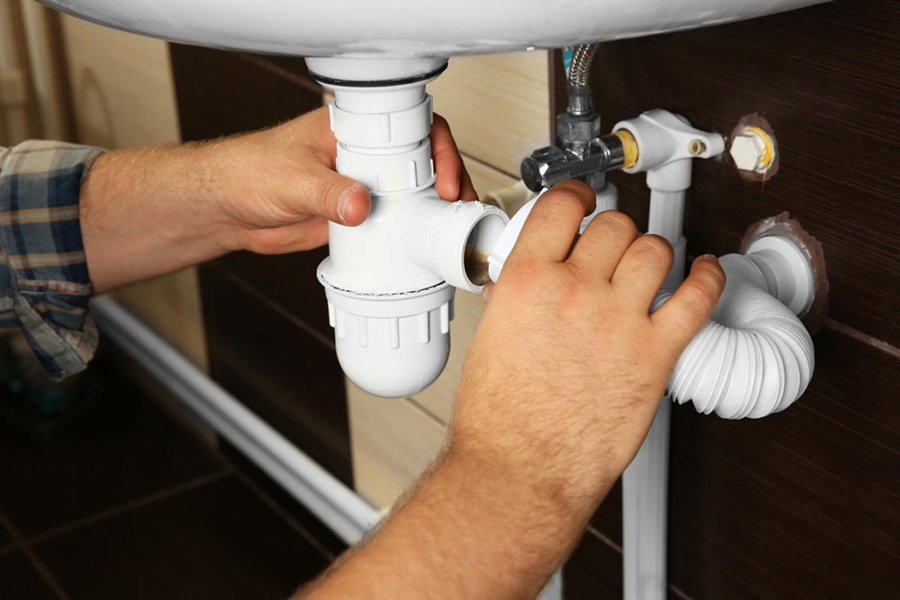
Gain Access to the Leaking Pipe
In most homes, there’s an access panel behind or under the bathtub, often in an adjacent room or closet. If no panel exists, you may need to cut through the drywall to access the plumbing.
Tools you may need:
Utility knife or drywall saw
Flashlight or work light
Bucket or towels to catch residual water
Once you gain access, inspect the area thoroughly to pinpoint the source of the leak.
Common Causes of Pipe Leaks Under Bathtubs
Understanding the source of the leak will determine the correct repair method. Here are the most common issues:
1. Loose or Corroded Pipe Fittings
Over time, fittings can become loose or corroded, especially in older homes. This often leads to slow drips that worsen over time.
2. Cracked or Damaged Pipes
PVC, copper, or PEX pipes can crack due to freezing temperatures, wear, or poor installation.
3. Faulty Drain Connections
If the leak is near the drain assembly, the problem could be a deteriorated rubber gasket or a loose locking nut.
4. Tub Overflow Drain Leaks
The overflow assembly is a frequent source of leakage, especially when the gasket becomes brittle or misaligned.
Step-by-Step: How to Fix the Leaking Pipe
1. Inspect and Identify the Leak Source
Use a dry towel to wipe the pipes and fittings. Then, slowly turn the water back on and observe where the water starts leaking. Mark the exact location.
2. Tighten or Replace Fittings
If the leak is at a joint:
Use a wrench to carefully tighten the fitting.
If it still leaks, remove the fitting, clean the threads, and apply plumber’s tape before reattaching.
3. Repair Cracked Pipes
For PVC Pipes:
Cut out the damaged section using a PVC pipe cutter.
Dry-fit a replacement piece with couplings and PVC cement.
Allow the cement to cure for the manufacturer-recommended time before restoring water.
For Copper Pipes:
Use a pipe cutter to remove the damaged section.
Clean both ends and sweat in a new section using flux, solder, and a propane torch.
For PEX Pipes:
Cut the damaged section.
Use push-fit connectors or crimp fittings with a PEX tool to install the new piece.
4. Replace Worn Gaskets or Seals
If the leak is near the tub drain or overflow:
Unscrew the drain flange or overflow plate.
Replace old gaskets with new rubber washers or plumber’s putty.
Tighten everything securely and test for leaks.
5. Test the Repair Thoroughly
Once the repair is complete, turn the water back on gradually. Fill the bathtub and let it drain while inspecting for any signs of leakage. Use a dry paper towel underneath the repair area to detect even minor leaks.
Prevent Future Leaks
To avoid future plumbing issues under your bathtub, follow these preventative measures:
Inspect plumbing annually for signs of wear or corrosion.
Ensure proper pipe insulation to prevent freezing.
Avoid overtightening fixtures, which can damage fittings over time.
Use only high-quality materials during repairs and installations.
When to Call a Professional Plumber
While many minor leaks can be repaired by confident DIYers, certain situations demand expert attention:
Extensive pipe corrosion or multiple leak points
Difficulty accessing the damaged area
Leaks involving the main drain line or sewage pipes
Recurring water damage after previous repairs
Hiring a licensed plumber ensures the issue is properly resolved, especially if building codes or insurance claims are involved.
Recommended Tools and Materials for the Job
Having the right tools on hand makes a significant difference in the success of your repair:
Pipe wrench and adjustable wrench
Pipe cutter (PVC, copper, or PEX-specific)
Flashlight or inspection camera
Plumber’s tape and pipe sealant
PVC cement, solder, or PEX connectors
Utility knife and drywall repair materials (if access is needed)
Safety Tips When Repairing Leaking Pipes
Always shut off the water before starting repairs.
Wear gloves and eye protection, especially when cutting pipes or using a torch.
Ensure proper ventilation when using adhesives or chemicals.
Be cautious of electrical wiring near plumbing avoid wet areas.
Conclusion
Fixing a leaking pipe under a bathtub may seem daunting, but with the right knowledge and tools, it’s a manageable project for many homeowners. By identifying the leak source accurately and following a methodical repair process, you can protect your home from further water damage and costly repairs.