
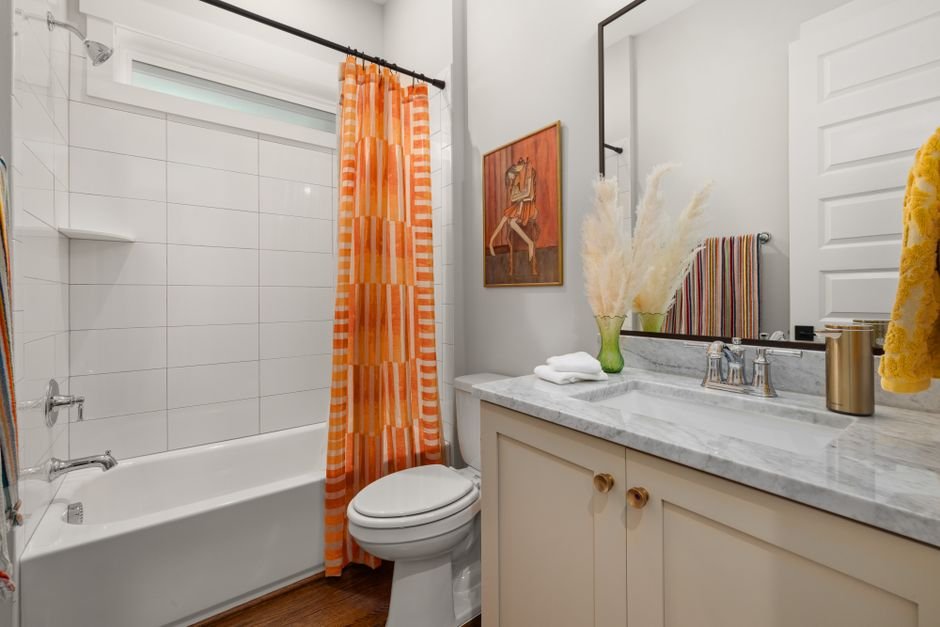
A new shower curtain rod can cost anywhere from $10 to $50 and drastically change your bathroom’s look. You can install one without drilling into tiles, which prevents damage and keeps the space intact. Here’s how to tackle this straightforward project without the hassle.
Here’s the bottom line: using a tension rod or an adjustable rod can simplify your installation process significantly. These options don’t require drilling and are perfect for renters or anyone looking to avoid tile damage. In this guide, I’ll walk you through the steps of how to install a new shower curtain rod effectively and without fuss.
Choosing the Right Shower Rod Type
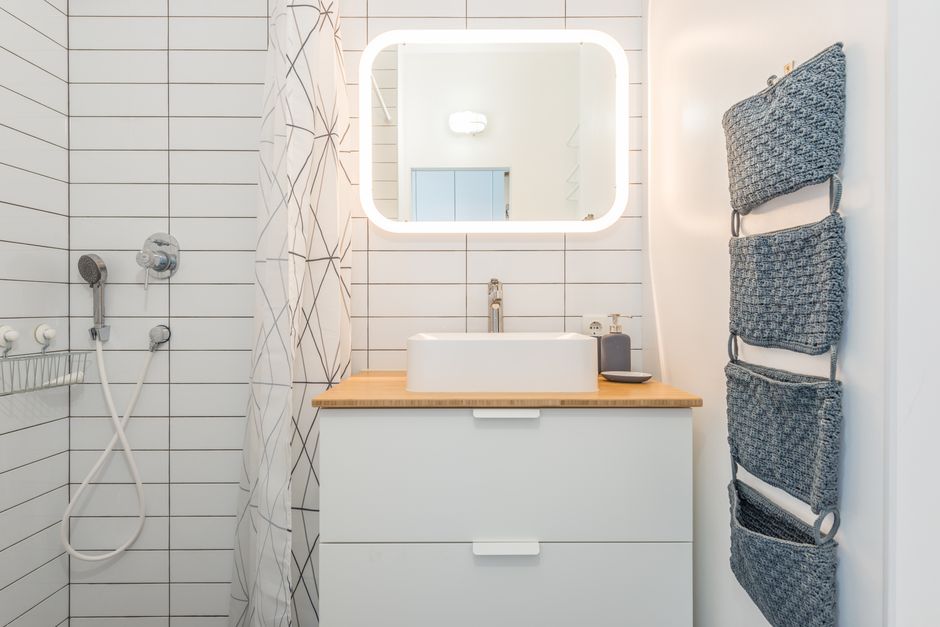
The first step in your installation journey is selecting the right type of rod. I recommend considering tension rods for those who want a no-drill solution. They work by using tension to stay in place between two walls and can be adjusted to fit your shower size.
If you prefer a more secure fitting or plan to hang heavier curtains, an adjustable rod with wall brackets is a better choice. This involves a little more effort but offers stability, especially for heavier shower curtains.
Another option is a ceiling-mount rod, which offers great support and is particularly useful in open shower spaces. These rods typically require more installation work, as they involve securing to both the ceiling and walls. For those who want a temporary solution or have limited space, tension rods will likely serve you best.
Tools Needed for Installation
Depending on your chosen rod type, your tool requirements will vary. For tension rods, you’ll only need the rod itself. If you’re going for an adjustable rod, be prepared to gather a drill, wall anchors, a screwdriver, and a level. Having these tools on hand will streamline the process and avoid unnecessary runs to the hardware store.
Make sure to measure the space where you’ll be installing the rod. Common shower widths range from 54 inches to 78 inches, so knowing your dimensions will ensure a perfect fit. A measuring tape is your best friend at this stage.
Step-by-Step Installation Process
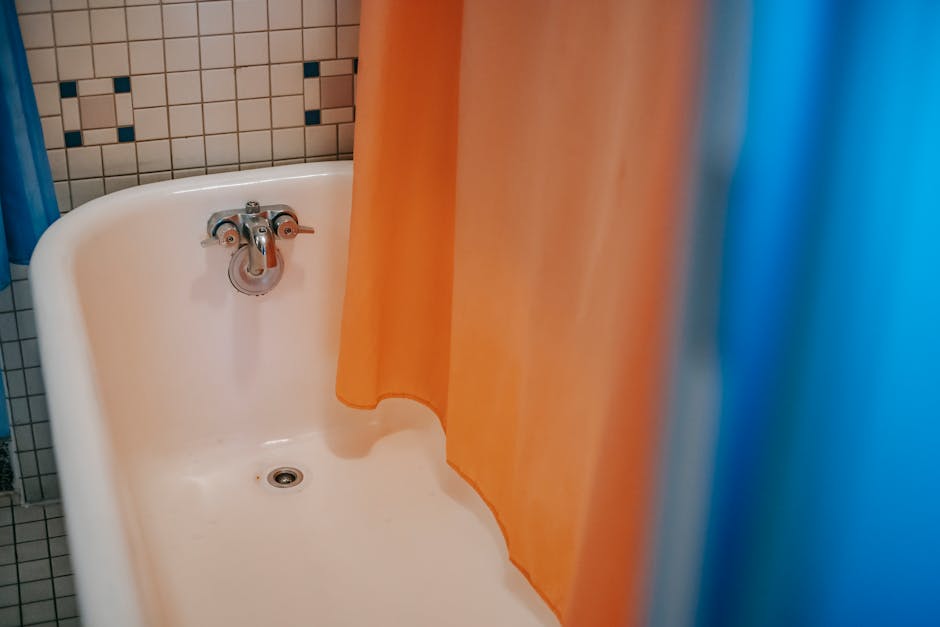
Now, let’s get into the nitty-gritty of the installation itself. Here’s a step-by-step guide to help you through the process:
- Measure the Area: Use a measuring tape to determine the distance between the walls where your rod will be mounted. There’s nothing worse than buying the wrong size!
- Mark Your Spot: For adjustable rods, mark where you want the rod to sit on both walls. Make sure it’s level, using a level to avoid any crooked installations.
- Drill Holes (if applicable): For adjustable rods, if wall anchors are necessary, drill holes for them based on your markings. Insert the wall anchors using a hammer for a tight fit. This step can be skipped with tension rods.
- Secure the Rod Brackets: If using an adjustable rod, fix the brackets into the wall using screws. Next, place the rod into the brackets.
- Hang Your Shower Curtain: With the rod secure, hang your shower curtain. Make any necessary adjustments to ensure it hangs beautifully.
If you’re using a tension rod, the process is even simpler. Just expand the rod to fit snugly between the walls and twist it into place. This only takes a minute!
Tips for a Smooth Installation
One common mistake many make is not measuring carefully before installation. Taking accurate measurements one or two times can save you from frustration later. If using a tension rod, ensure it’s genuinely tight; you don’t want it to slide down unexpectedly.
If you’re renting your space, always check your lease for any restrictions on installations. Many landlords are okay with tension rods as they leave no marks behind, but it’s best to double-check.
Our write-up on corner kitchen sink picks up where this leaves off.
If that matters to you, our piece on pex pipe to bathroom goes further.
Final Thoughts on Choosing the Right Rod
Overall, I recommend using tension rods if you’re seeking a simple installation without drilling. They are cost-effective, easy to remove, and adjustable to fit various spaces. However, if you’re using heavier material or need more stability, go for an adjustable rod with secure brackets. Ultimately, choosing the right type depends on your specific needs and your space’s configuration.
Whether you’re sprucing things up for yourself or preparing for guests, a newly installed shower curtain rod can elevate the entire feel of your bathroom. If you’re also interested in other bathroom updates, check out my guide on minimalist boho bathroom ideas for design inspiration that complements your new shower setup. Additionally, learn more about how to install a new shower curtain rod effectively.