Installing a corner kitchen sink can be an excellent way to add functionality and style to your kitchen. However, the installation process can seem daunting, especially if you've never done any plumbing work before. In this step-by-step guide, we'll show you everything you need to know to install a corner kitchen sink on your own.

Tools and Materials Needed
Before you get started, you'll need to gather some tools and materials. Here's what you'll need:
- Corner kitchen sink
- Faucet
- Plumber's putty
- Wrench
- Adjustable pliers
- Screwdriver
- Hacksaw
- Tape measure
- Silicone caulk
- Bucket
Removing Old Sink and Prepping for Installation
The first step in installing your new corner kitchen sink is to remove the old sink and prepare the area for installation. Here's what to do:
- Turn off the water supply and now disconnect the plumbing.
- Remove any clips or mounting brackets holding the sink in place.
- Lift the sink out of the countertop and remove any remaining sealant or putty.
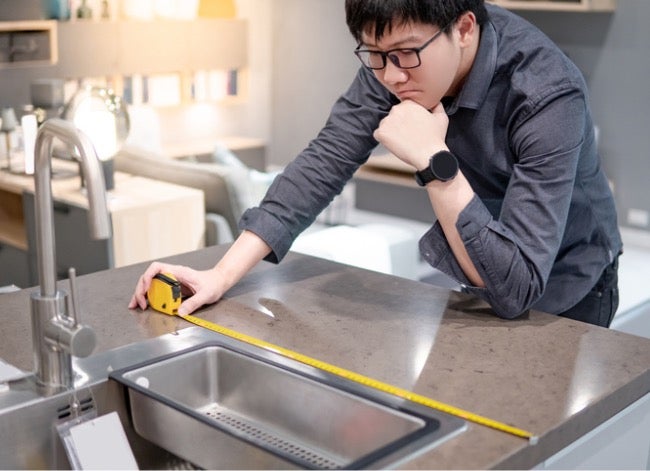
- Measure the dimensions of the sink opening in the countertop and mark the location for the new sink.
- Use a hacksaw to cut a hole in the countertop for the new sink.
Installing the New Corner Kitchen Sink
Once you've prepared the area, it's time to install the new corner kitchen sink. Here's how:
- Apply a thin layer of plumbers' putty around the perimeter of the sink flange.
- Carefully lower the sink into the countertop hole, making sure it's level and flush with the countertop.
- Install mounting brackets or clips to hold the sink in place.
- Tighten the mounting brackets or clips with a wrench or pliers.
- Install the faucet onto the sink according to the manufacturer's instructions.
- Apply a bead of silicone caulk near the edge of the sink to seal it to the countertop.
Connecting Plumbing
With the sink installed, it's time to connect the plumbing. Here's what to do:
- Install the drain assembly onto the sink according to the manufacturer's instructions.
- Connect the drain tailpiece to the trap with slip-joint pliers.
- Connect the trap to the wall plumbing or garbage disposal with slip-joint pliers.
- Install the hot and cold-water supply lines onto the faucet according to the manufacturer's instructions.
- Turn on the water connection and check for leaks.
Testing for Leaks
After you've connected the plumbing, it's important to test for leaks. Here's how:
- Fill the sink with water and let it drain.
- Check for leaks under the sink and around the drain assembly.
- Tighten any connections as needed.
- Run water through the faucet and check for leaks around the base and connections.
- Tighten any connections as needed.
Common Mistakes to Avoid
Many homeowners miscalculate the angles needed for plumbing connections. Ensure your pipes align properly before securing anything. Double-check that the sink can accommodate your chosen faucet style, as some tall faucets may interfere with upper cabinets.
Neglecting proper sealing around the sink can lead to water damage. Use a high-quality silicone caulk and apply it evenly. Trimming the sink’s support framework improperly may cause it to wobble. Always follow the manufacturer’s recommendations when adjusting the cabinetry.
Maintenance Tips for Corner Sinks
To keep your corner sink in excellent condition, regularly check for any signs of wear. Inspect the seals and gaskets around the faucet and sink. A small leak can develop into a significant problem if neglected.
Cleaning your sink should be part of your routine. Use mild soap and warm water to avoid damaging the surface. Avoid abrasive cleaning materials that may scratch or dull the finish. Consider using a sink mat to protect it from scratches and impacts.
If that matters to you, our piece on step guide to installing commercial goes further.
Frequently Asked Questions
Q: Do I need any special tools to install a corner kitchen sink?
A: While basic tools like wrenches, screwdrivers, and plumber's tape are necessary, you may also need silicone caulk, a bucket, and possibly a saw or drill depending on your specific installation requirements.
Q: How do I know if the corner sink will fit in my cabinet space?
A: Before purchasing a corner sink, measure the dimensions of your cabinet space carefully. Compare these measurements with the dimensions of the sink unit to ensure a proper fit. Most corner sinks are designed to fit standard cabinet sizes, but it's always best to double-check.
Q: Can I install a corner kitchen sink myself, or do I need to hire a professional?
A: With basic DIY skills and the right tools, many homeowners can successfully install a corner kitchen sink themselves. However, if you're uncertain about any aspect of the installation process or if you encounter any complications, it's wise to seek the assistance of a professional plumber.
Q: How do I prevent leaks around the sink and faucet?
A: Proper installation and sealing are crucial for preventing leaks. Use plumber's tape on threaded connections, tighten all connections securely with wrenches, and apply silicone caulk around the edges of the sink where it meets the countertop to create a watertight seal.
Q: Do I need to install a garbage disposal with my corner kitchen sink?
A: Whether or not you need a garbage disposal depends on your personal preference and local plumbing codes. If you choose to install one, make sure to follow the manufacturer's instructions carefully and consider hiring a professional if you're unsure about the installation process.
Conclusion
Installing a corner kitchen sink can seem harsh, but with the perfect tools and a little know-how, it's a DIY project that anyone can tackle. By following these step-by-step instructions, you can add style and functionality to your kitchen while saving money on installation costs.