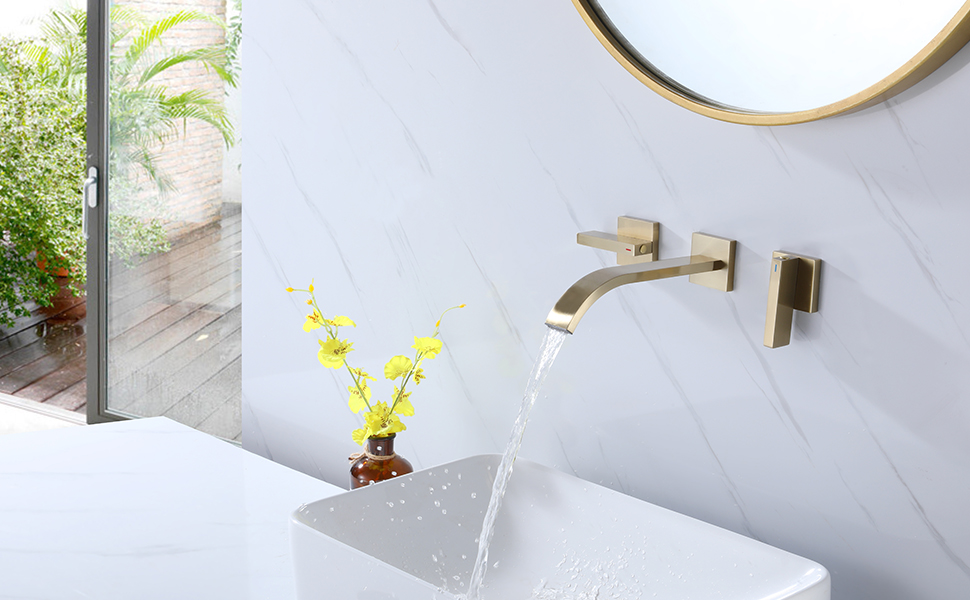
Wall-mount bathroom faucets are widespread for those looking to upgrade their bathroom's style and functionality. With a sleek and modern design, wall-mount faucets free up counter space and provide easier access to the sink. If you're considering installing one yourself, this guide will walk you through the process step-by-step. With just a few tools and materials, you can install a new faucet in no time. The installation process is estimated to take 1-2 hours and is challenging.
Tools and Materials Required
Before you begin, collect the following tools and materials:
- Wall-mount bathroom faucet
- Adjustable wrench
- Pliers
- Phillips head screwdriver
- Basin wrench
- Plumber's putty
- Teflon tape
- Towels or rags
Removing the Old Faucet
The 1st step is to turn off the water supply to the sink. Look under the sink for the shut-off valves and turn them clockwise until they're fully closed. Then, use a basin wrench to loosen the nuts holding the old faucet in place. The nuts are removed, and gently lift the faucet from the sink. Before installing the new faucet, clean the area thoroughly.
Installing the Mounting Bracket
You'll need to measure and mark the placement on the wall to install the mounting bracket. Utilize a level to ensure the bracket is straight and keep the location of the mounting holes. Then, drill holes into the wall where you marked, and insert wall anchors. Finally, attach the mounting bracket to the wall using screws and a screwdriver.
Connecting the Water Supply
Before connecting the water supply lines:
- Wrap the threaded ends of the faucet with Teflon tape to prevent leaks.
- Attach the cold and hot water supply lines to the corresponding valves under the sink using an adjustable wrench and pliers to tighten them.
- Once the connections are secure, turn the water supply back on and check for leaks.
Troubleshooting Common Issues
Troubleshooting common issues during the installation of a wall mount bathroom faucet requires careful attention and some basic problem-solving skills. Here's how to deal with leaks, low water pressure, alignment problems, and other potential issues:
1. Dealing with Leaks:
- Check Connections: Inspect all connections, including the supply lines and faucet connections, for any signs of leaks. Tighten connections if necessary.
- Replace Seals or Gaskets: If the leak persists, inspect the seals or gaskets within the faucet assembly. Worn-out or damaged seals can cause leaks. Replace them as needed.
- Use Thread Sealant: Apply thread sealant tape to the threads of the connections to create a watertight seal. Ensure that the tape is wrapped in the direction of the threads to prevent it from unraveling during installation.
2. Solutions for Low Water Pressure:
- Clear Blockages: Check for any obstructions or debris in the supply lines or faucet aerator that may be causing low water pressure. Clean or replace the aerator if necessary.
- Adjust Shut-Off Valves: Ensure that the shut-off valves connected to the supply lines are fully open. Partially closed valves can restrict water flow and cause low water pressure.
- Inspect Pipes: Inspect the plumbing pipes for any signs of corrosion or damage that may be affecting water flow. Replace damaged pipes or components as needed.
3. Addressing Alignment Problems:
- Adjust Mounting Bracket: If the faucet is not aligned properly with the sink or bathtub, adjust the mounting bracket accordingly. Loosen the screws holding the bracket in place and reposition it to achieve the desired alignment.
- Use Shims: Place shims or spacers behind the mounting bracket to correct alignment issues. This helps ensure that the faucet is level and properly positioned against the wall.
- Check Wall Surface: Inspect the wall surface for any irregularities or obstacles that may be causing alignment problems. Repair any damaged areas or remove obstructions before re-installing the faucet.
4. Other Issues During Installation:
- Ensure Proper Sealant: Use an appropriate sealant, such as plumber's putty or silicone caulk, to create a watertight seal between the faucet and the wall. Apply the sealant around the perimeter of the faucet base before mounting it to the wall.
- Secure Mounting Screws: Make sure that all mounting screws are securely tightened to prevent the faucet from coming loose over time. Use a screwdriver or wrench to tighten the screws adequately.
- Follow Manufacturer Instructions: Refer to the manufacturer's installation instructions for specific guidance and recommendations. Following the manufacturer's guidelines can help prevent installation errors and ensure proper functionality.
By addressing these common issues and following proper installation procedures, you can successfully install a wall mount bathroom faucet with minimal complications. If you encounter any difficulties beyond your expertise, consider seeking assistance from a professional plumber.
Final Steps
With the water supply connected, installing the faucet handles is time. Attach the handles to the faucet using the included screws and a Phillips head screwdriver. Then, turn the water supply back on and test the faucet to ensure it's working properly. Finally, check all connections to ensure they're correctly tightened, and clean up the work area.
Conclusion
Installing a wall-mount bathroom faucet with this guide is a DIY task you can easily accomplish. Following these step-by-step instructions and safety tips, you can install a new faucet in just a few hours. Remember to test your new faucet and regularly maintain it to ensure it continues to function correctly. Enjoy your updated bathroom with a sleek and modern wall-mount faucet.


