

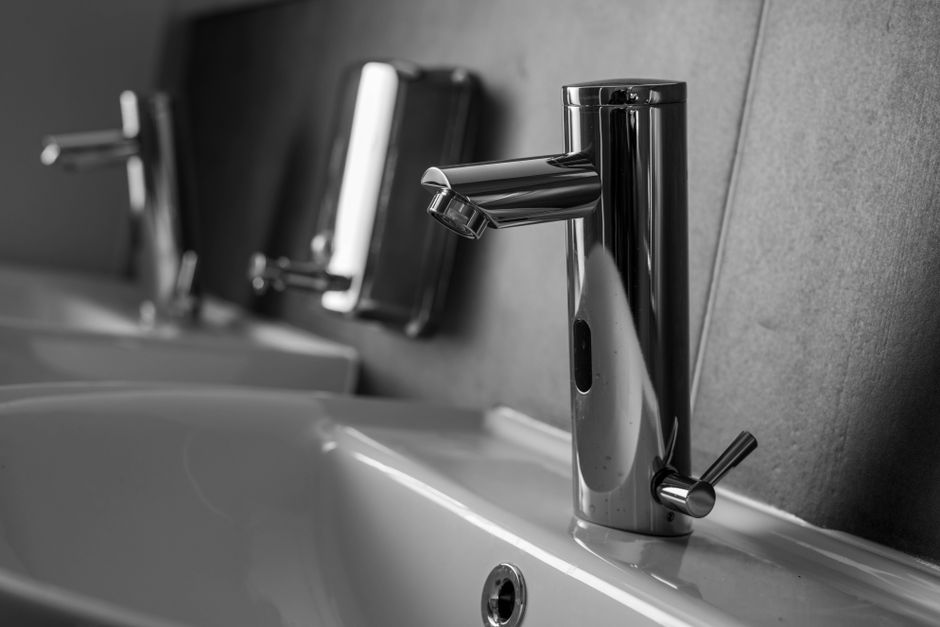
Commercial faucets are an essential part of any public or commercial space. Installing a new one can seem daunting, but it can be done fast and easily with the right tools and instructions. In this guide, we'll walk you through installing a commercial faucet step-by-step. We'll also give tips on how to stay safe during the installation process.
Tools Needed
Before you start the installation process, you'll need to gather the following tools:
- Adjustable wrench
- Screwdriver
- Basin wrench
- Plumber's putty
- Teflon tape
- Bucket or container
Preparation
Before you start, turn off the water connection to the sink or area where you'll install the new faucet. Remove any old hardware or debris and ensure the place is clean and dry. You'll also need to prepare the installation site.
Safety Precautions
Safety precautions are crucial when installing commercial faucets. Ensure the area is clear of obstacles, use appropriate tools, follow manufacturer instructions, shut off water supply, and wear protective gear to prevent accidents.
- Clear the installation area of any obstacles or clutter.
- Utilize appropriate tools for the installation process.
- Follow the manufacturer's instructions carefully.
- Shut off the water supply to the area where the faucet will be installed.
- Wear protective gear such as gloves and eye protection to prevent accidents.
Removing the Old Faucet
- Start by disconnecting the water supply lines from the old faucet. Use a wrench to remove or loose the nuts and gently pull the lines away from the faucet.
- Remove your faucet nuts and washers that hold the old faucet in place. Use a basic wrench to loosen the nuts if they are difficult to reach.
- Gently lift the old faucet away from the sink or countertop, careful not to damage any plumbing or electrical connections.
Installing the New Faucet
- Start by positioning the gasket or mounting plate on the sink or countertop where the new faucet will be installed. Ensure that it is centered and level.
- Place the new faucet through the mounting plate or gasket and secure it in place using the mounting nuts and washers. Use a simple wrench to tighten the faucet nuts securely, but be careful not to overtighten and damage the sink or countertop.
- Attach the water supply lines to the new faucet. Apply Teflon tape to the threaded ends of the supply lines before screwing them into the faucet. Use a flexible wrench to tighten the connections securely.
- Apply the plumber's putty around the base of the new faucet to prevent any water from leaking into the area below the sink.
Testing the New Faucet
- Turn on the water connection and check for leaks. Turn off the water supply and now tight the connections if you notice any leaks.
- Turn on the faucet and check for proper water flow and temperature. If the flow or temperature is incorrect, check the installation and connections for any issues.
- Fill a container with water and test the faucet's spray or aerator function to ensure it works correctly.
Common Mistakes to Avoid
Many people rush through installations, which can lead to serious issues later. One common mistake is overtightening fittings, causing leaks or damaging connections. You should use a torque wrench to ensure proper tightness without overdoing it.
Another error is neglecting to check for compatibility. Always verify that the new faucet matches your sink configuration and water line connections. This will save you from frustration during installation.
Failing to properly clean the installation area is often overlooked. Debris or old caulk can compromise the new faucet’s seal. Make sure the surface is smooth and clean to prevent future leaks.
Maintenance Tips for Longevity
Keeping your commercial faucet in great condition is essential for its lifespan. Regularly check for hard water buildup, as mineral deposits can clog aerators. Detach and clean these parts monthly to maintain optimal water flow.
It's wise to inspect the faucet for leaks every few months. Early detection helps avoid larger problems down the road. Tighten connections and replace worn washers or gaskets when necessary.
Lastly, consider the material of your faucet when cleaning. Metal surfaces often require gentle cleaners to avoid scratches. Using a soft cloth instead of abrasive sponges will preserve the finish.
Our write-up on matte black bathroom faucets under picks up where this leaves off.
For the underlying data, the EPA is worth a look.
Conclusion
Installing a commercial faucet can seem intimidating, but it can be done fast and easily with the right tools and instructions. Always turn off the water supply and take the necessary safety precautions when working with plumbing. By following this step-by-step guide, you'll have a new commercial faucet installed in no time.