
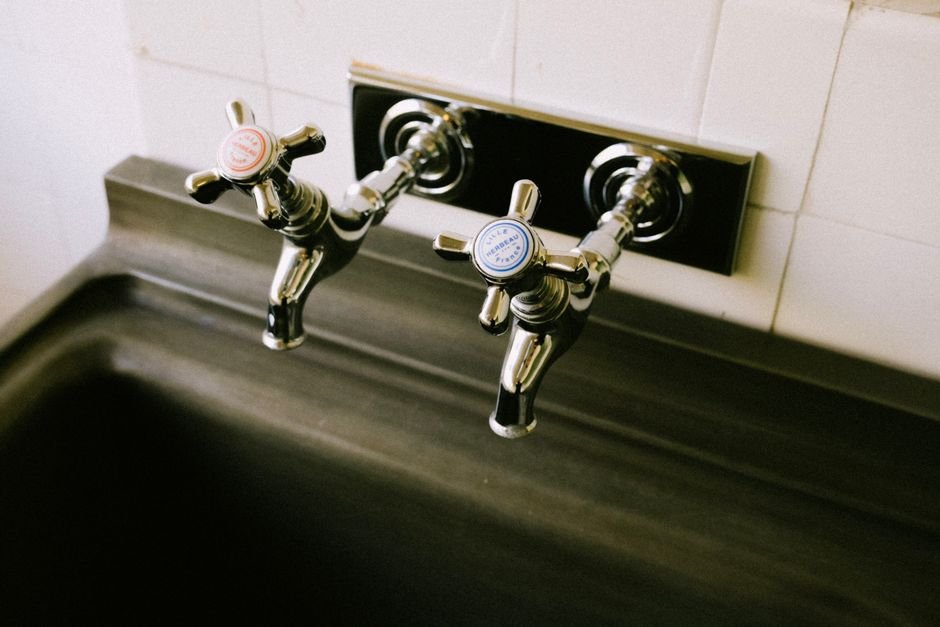
A dripping faucet can waste over 3,000 gallons of water a year, significantly impacting your water bill. This persistent leak is a common problem homeowners often overlook, but fixing it usually requires just a few tools and a bit of time.
In this guide, I’ll walk you through how to fix a leaky faucet in five easy steps. You don’t need to be a plumber to tackle this challenge; all you need is a bit of patience and the right approach. You’ll gain some practical skills and save on that water bill in the process.

Identifying the Cause of the Leak
Before diving into repairs, you must pinpoint what’s causing the leak. Is it a worn-out rubber gasket, a loose screw, or something more intricate? In my experience, most faucet leaks stem from either a deteriorated rubber gasket or a malfunctioning cartridge.
During your assessment, consider the type of faucet you have, compression, cartridge, or ball, and inspect the area around the spout and handle for moisture.
Don’t overlook the water pressure, either. Often, excessively high water pressure can lead to leaks. Places like the kitchen and bathroom have different plumbing setups, so keep that in mind when troubleshooting your specific faucet model. If you can’t find the problem, I recommend looking into related articles about kitchen faucets and bathroom faucets for clues on common issues.
Gathering Your Tools
Next, you’ll need to gather a few essential tools. This step is often overlooked, leading to frustration down the line. You will need a wrench, screwdrivers (both flathead and Phillips), replacement parts (like gaskets or cartridges), and plumber's tape. If you’ve encountered similar repair tasks, you know that a good wrench can make all the difference in loosening stubborn screws.
Before jumping into the repair, I always suggest laying out a cloth or towel to catch any water that may spill during the process. It helps to keep your workspace clean and organized, which is crucial when working in tight spaces.

Shutting Off the Water Supply
One of the most critical steps is often neglected, shutting off the water supply before you start working. It’s a simple step, but forgetting it can lead to a soggy mess. Locate the shut-off valves, typically found under the sink, and turn them clockwise. If these valves are difficult to budge, consider replacing them during your faucet repair project.
If anything goes wrong during the fix, you’ll be grateful for this precaution.
Once the water is off, make sure to turn on the faucet to relieve any remaining pressure. This step will also help you avoid a surprise water splash when you open the faucet later.
Disassembling the Faucet
Now, it’s time for the fun part, disassembling the faucet. Depending on your faucet style, this can differ slightly. Use the wrench and screwdriver to carefully remove the handle and any additional components. Keep track of every screw and part as you do this; I recommend placing them in small bowls or a magnetic tray to avoid losing them.
While disassembling, closely examine parts for wear. A cracked washer or a rusted component can be the source of your leak. If you find any damaged parts, take these with you to a hardware store to find exact replacements. You’re aiming for a fit that matches your original setup to ensure smooth functionality.
Replacing Parts and Reassembling
With everything disassembled and inspected, you’re ready to replace any faulty parts. Start by replacing the rubber gasket if that’s the issue. If you’re working with a cartridge faucet, insert a new cartridge that matches the one you removed. Applying plumber’s tape to threaded connections can provide extra insurance against leaks, so don’t skip this detail.
Once everything is replaced, it’s time to reassemble your faucet. Take your time to ensure everything is tightened securely but avoid overtightening, which can lead to damaging threads or cracking components. After putting everything back together, it’s time to restore water to the faucet.
Testing for Leaks
Now comes the moment of truth, testing for leaks. Turn the water supply back on slowly and check for any signs of dripping. Don’t rush this step; give it a minute to see if any water seeps through. If the faucet remains quiet, congratulations! You’ve successfully fixed your leaky faucet.
If you notice water dripping, you may need to disassemble again and check for any seals that weren’t properly seated or replace any missing parts. Sometimes, leaks can be stubborn, but don’t get discouraged. You’ve already accomplished so much by addressing the problem yourself. For even more tips on how to fix a leaky faucet, consider exploring additional resources.
Final Recommendations
If you're still struggling with your faucet after trying these steps, it's best to hire a licensed plumber. This is especially recommended for cases involving corroded pipes or complex plumbing issues that need expert attention.
See also our take on delta lahara vs kohler.
See also our take on delta lahara vs kohler.