
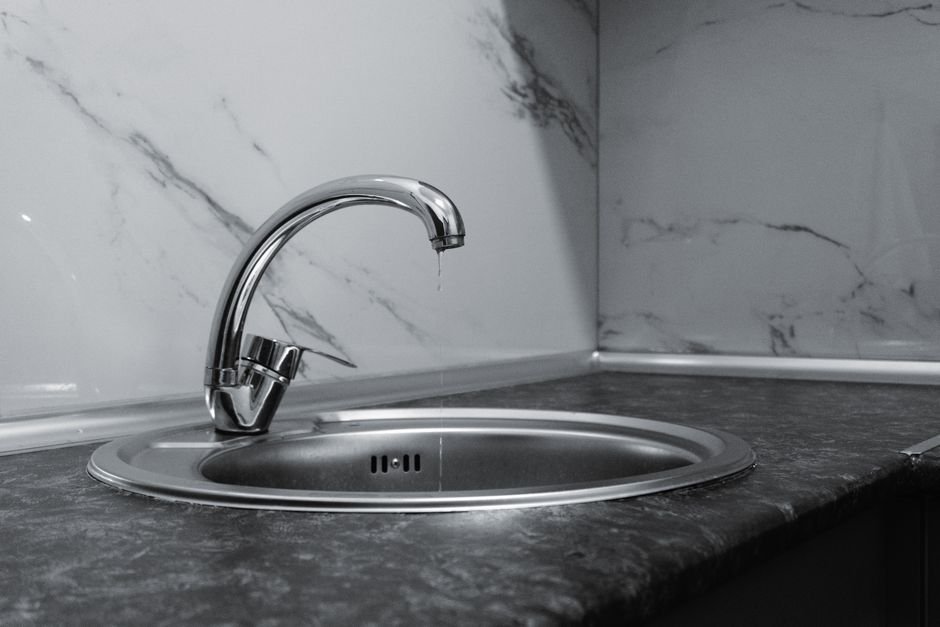
Around 10% of homes in the U.S. grapple with a leaky kitchen faucet, costing homeowners approximately 3,000 gallons of water each year. Fixing this common issue not only restores your faucet's functionality but also helps reduce your water bill significantly. Tackling the problem yourself can save you the expense of hiring a plumber.
I’ve learned through experience that fixing a leaky faucet is often easier than it seems. With a little guidance and the right plumbing tools, most people can tackle this project in less than an hour. Let’s look into the common causes, necessary tools, and steps to effectively stop that drip.
Common Causes of a Leaky Faucet
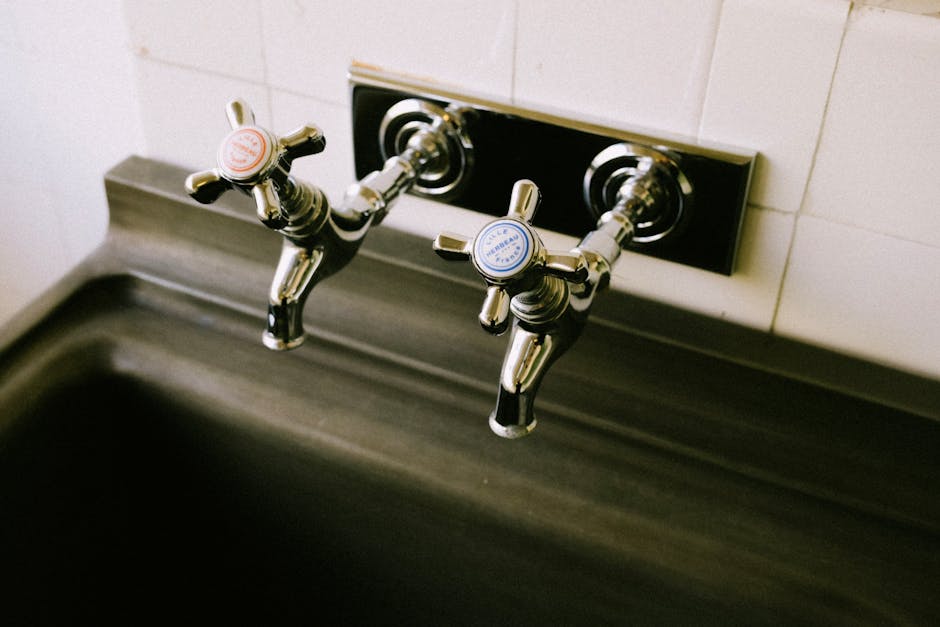
Before jumping into repairs, it’s crucial to understand what might be causing the leak. One common culprit is a worn-out faucet cartridge. Over time, these parts can degrade due to everyday use and high water pressure, leading to leaks. If your faucet has a constant drip, check the cartridge first; it’s usually the first part to look into for replacement.
Another frequent cause of leaks is a failing washer or gasket. These components create a watertight seal between various faucet parts. When they become cracked or worn, they can lead to leaks around the faucet handle or spout.
It’s also worthwhile to consider the effect of high water pressure; if your home’s water pressure is significantly above 60 PSI, it can stress the faucet components and contribute to leaks. If you suspect high pressure is the issue, installing a pressure regulator might be a smart move.
Essential Tools for Faucet Repair
Before getting started, gather a few fundamental plumbing tools. You’ll need:
- A wrench or adjustable pliers for loosening and tightening parts
- A screwdriver (flathead and Phillips) to remove screws
- A replacement gasket or washer (if applicable)
- A replacement faucet cartridgeif necessary
- Plumber’s grease to lubricate seals and ensure smooth operation
Having these items at your disposal will make the repair process smoother and more efficient. Assembling everything before starting saves you the hassle of dealing with unexpected interruptions.
Steps to Fix Your Leaky Kitchen Faucet
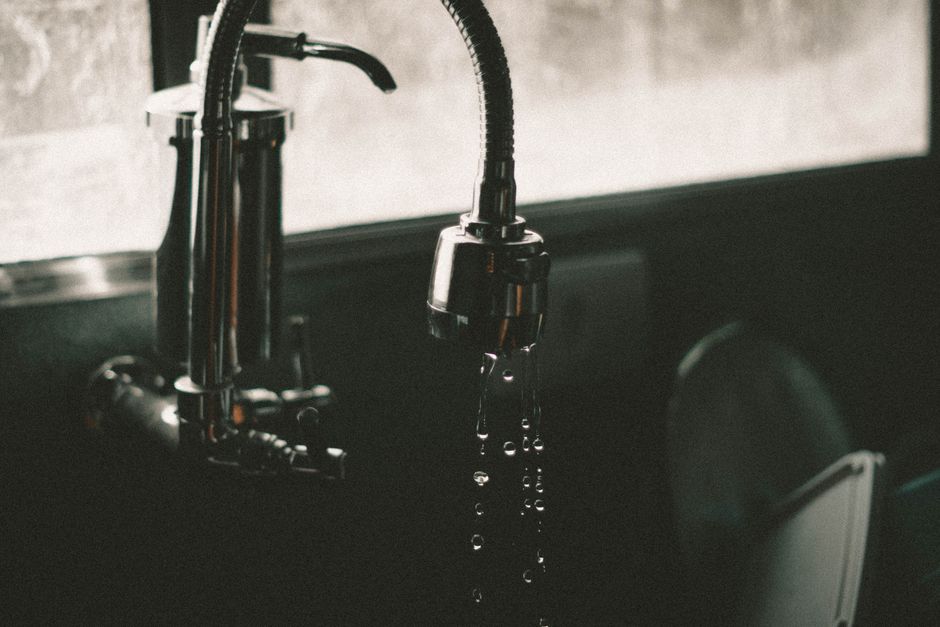
Now that you’ve gathered the necessary tools, let’s walk through the steps involved in fixing your leaky kitchen faucet. First, shut off the water supply under the sink. This is a straightforward task; simply turn the valves clockwise until they stop. Next, relieve any remaining water pressure in the faucet by turning it on until no water flows.
From here, remove the faucet handle. Most faucet handles are secured with screws that you can access by prying off decorative caps. Once you’ve removed the handle, carefully detach the retaining nut that holds the faucet cartridge in place. This step often requires a wrench.
Once the cartridge is free, inspect it for wear and damage. If you notice cracks or other issues, it’s wise to replace it with a new one. Many hardware stores have a variety of cartridges, so be sure to bring the damaged one with you to find the exact match.
Gasket Replacement: Keeping it Sealed
If the issue lies with the faucet’s washer or gasket, removing the old gasket and replacing it with a new one is a simple yet effective fix. Gaskets can wear out from simple usage, so replacing them along with the cartridge can save headaches in the future.
After replacing the gasket, apply a thin layer of plumber’s grease to help the new parts fit more easily.
Reassemble the faucet in reverse order: reattach the cartridge, tighten the retaining nut, and finally put the handle back on. Before finishing, turn the water supply back on to test for leaks. It’s always smart to do a complete check at this stage; even a small leak can indicate a component isn’t seated correctly.
When to Call a Professional
After following the steps, if you still face a leak, it may be time to call a professional plumber. It could indicate a deeper plumbing issue that requires specialized tools or expertise. If you notice water pooling under your sink or damage to surrounding areas, don’t hesitate to get help.
Remember, tackling plumbing repairs without the right knowledge can lead to additional costs down the line. It’s best to assess your comfort level with DIY repairs carefully.
Final Verdict: Save Time and Money
I recommend addressing minor leaks on your own if you're comfortable with basic home repairs; it can be a straightforward fix involving a simple cartridge or gasket replacement. However, for more complicated plumbing problems, or if you're unsure, consider calling a professional. This approach ensures you manage easy repairs while leaving complex issues to the experts. You can find useful information on how to fix a leaky kitchen faucet.
Worth reading alongside this: key features.