
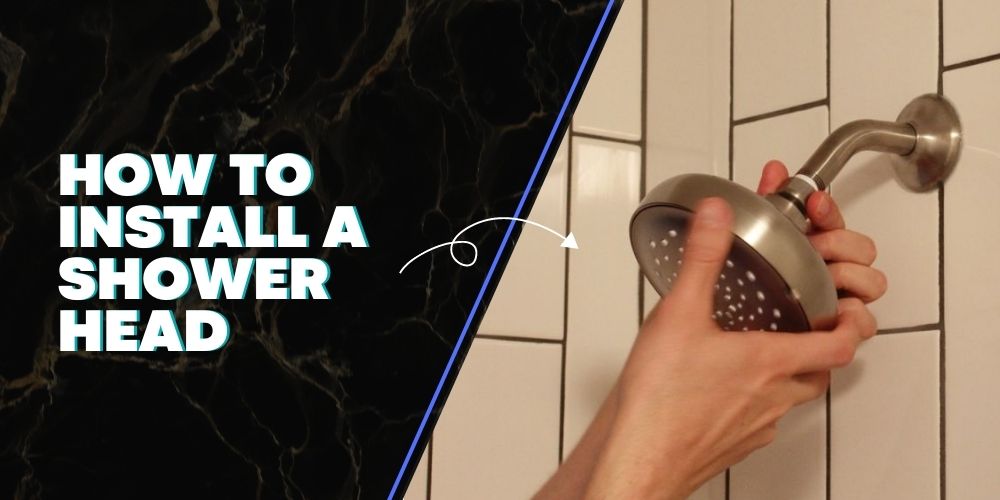
Installation of shower heads is not hectic and is now part of every second home. By applying a little force, you can attempt successful installation. Homeowners can install shower heads by following a few steps and using only 10 minutes. This article explains each step clearly and is beneficial for homeowners and beginners.
1. Inspect the Shower Arm

Before installing the shower arm, first, inspect the shower arm from every angle. Check the shower arm for any rust spots or corrosion and damage. If you notice any damage, then replace that part before the installation.
2. Clean the Shower Arm
Sometimes shower arms clog due to dust particles and hard water. Use a brush to clean the sediments and dust particles from the shower arm. It will help to give a new look to the shower arm.
3. Install the New Shower Head
Place the joining side of the shower head on the arm and move it clockwise. It will screw and get attached to the shower arm tight.
4. Shower Arm with Thread
In the market, a few shower heads come with shower arms that have a thread in them. These kinds of shower arms are straightforward and tight. Tight or screw it in a clockwise direction with the help of the hand. It is effortless to handle.
5. Check for Leaks
Turn on the water and check the shower head leakage. It is most important to check the leakage from every point because it is better to verify. If there is no leakage from any point, the shower head is successfully installed.
6. Test the Shower Head

After installing the shower head, check the working of the shower head by turn on the connection. If it works perfectly without any leakage, adjust it according to your needs, like water pressure, temperature and other necessary things.
Every shower head has different settings and different installation methods. Before installation, it is good to read the instructions carefully. In case of confusion, it is better to contact the plumber or a professional expert for help.
7. Install Additional Components
Now products like shower heads come with additional products to attach to the original one. Like water-saving devices, restrictors for the flow and other leakage valves also. Don’t forget to install these different components according to the instructions.
8. Adjust the Angle of the Shower Head
Adjust the angle according to the requirement of the shower head carefully with the hand. If the shower head is not in the exact position, it will not allow you to shower peacefully.
9. Check for Any Loose Part

Before winding up, the installation operation must check every part of the shower head. Every part must be tight and in the right place because loose parts can affect the working of the shower head.
10. Clean the Shower Head
During the installation of the shower head, there is the possibility of dust particles, sediments and other minerals. Clean it and then make it cleaner with a soft piece of cloth. It will shine bright.
11. Enjoy Your New Shower Head
After all these steps, the shower head is installed entirely, successfully, and ready to shower. Enjoy a new shower and make it memorable.
If you are unaware of any information about the shower head installation or if there is anything out of your knowledge, then contact the professional experts and take help from the experts in the installation of shower heads.
Common Mistakes to Avoid
When installing a shower head, more than just the right tools are crucial. One frequent error is applying excessive force when tightening the shower head. This can crack the fittings or strip the threads, leading to leaks. Always tighten until snug, but stop short of forcing it.
Another mistake is neglecting to check the compatibility of the shower head with your existing shower arm. Some models require specific connectors or sizes that might not work with your setup. Double-check the package specifications before making your purchase.
Maintenance Tips for Longevity
To keep your shower head functioning efficiently, regular maintenance is essential. Clean it at least once a month to prevent mineral buildup. To do this, soak the head in a vinegar solution for about 30 minutes, then scrub with a soft brush.
Occasionally, inspect the rubber washers and gaskets. Over time, these components can deteriorate and lead to leaks. Replacing worn parts can extend the life of your shower head and maintain water flow.
Lastly, consider the water quality in your area. Hard water can create mineral deposits. Installing a water softener may help prevent future issues related to sediment and scaling.
If that matters to you, our piece on reviews for your bathroom upgrade goes further.
Conclusion
Above mentioned points, the first step is looking for damage, cleaning, and so on. All these steps are essential, and try to pay attention to one. To enjoy the best working shower head, it is better to install it carefully. To install the shower head, remember to clean or maintain the shower arm.
Adjust the shower head according to the need, like the position and the temperature. For further successful installations, consider checking out this guide on how to install a low-flow showerhead.