
A bathroom shower remodel can completely transform the look, feel, and functionality of your bathroom. Whether you're upgrading an outdated space or correcting years of wear and tear, a properly executed shower remodel adds immense value to your home. Below, we walk you through everything you need to know to remodel your bathroom shower with precision and efficiency.
Planning Your Shower Remodel
Set a Realistic Budget
Start by establishing a clear and realistic budget. A shower remodel can range from $1,000 to $15,000+ depending on the complexity, materials, and whether you're doing a full renovation or just a refresh.
Basic Remodel: $1,000 – $3,000
Mid-Range Remodel: $3,000 – $7,000
High-End Remodel: $7,000 and up
Include costs for labor, materials, permits, fixtures, tiles, waterproofing systems, and unexpected expenses.
Define Your Needs and Goals
Identify what needs fixing or updating:
Leaks or water damage
Mold or mildew issues
Poor water pressure or plumbing problems
Outdated or unattractive finishes
Determine whether you're looking for better aesthetics, functionality, energy efficiency, or luxury upgrades like steam showers or frameless glass doors.
Choose the Right Shower Type
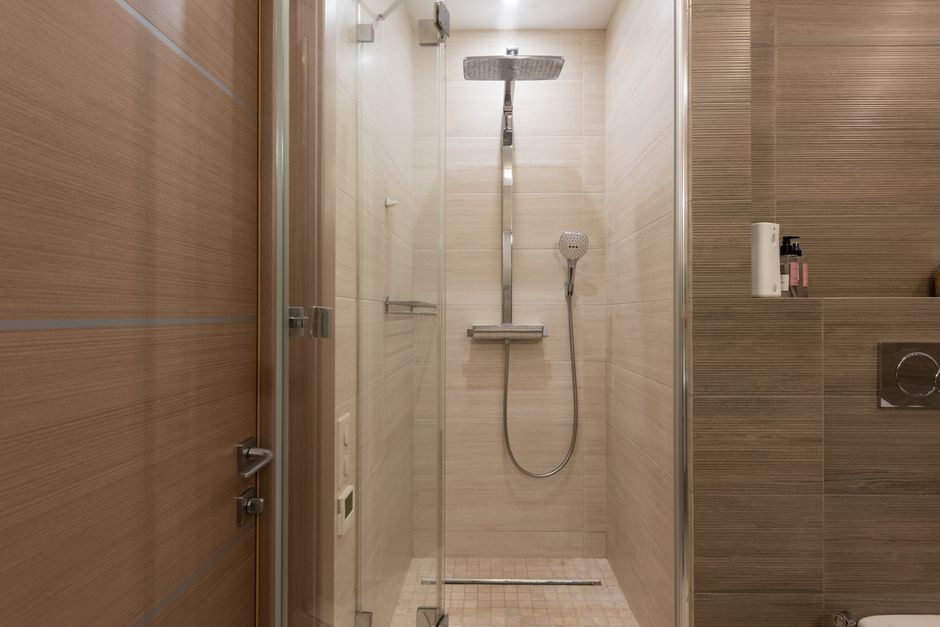
Walk-In Showers
A popular modern option, walk-in showers offer a sleek, spacious look and are ideal for small bathrooms or for improving accessibility.
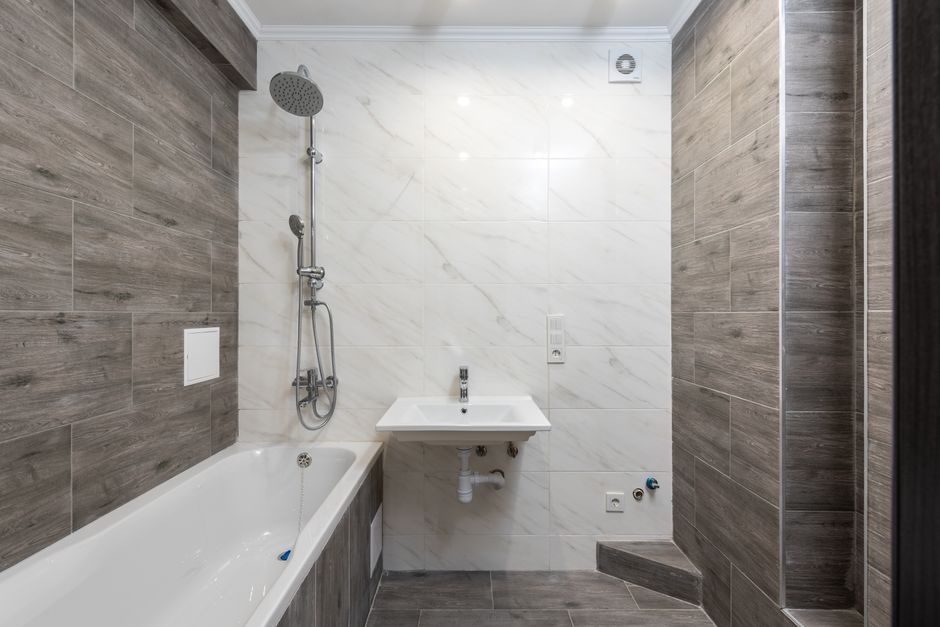
Tub-to-Shower Conversion
Converting an old tub into a standing shower can maximize space and is a popular remodel for homeowners who no longer use a bathtub.
Curbless Showers
Also known as barrier-free showers, these offer a seamless transition from the bathroom floor and are excellent for those aging in place or wanting a minimalist look.
Selecting Materials and Fixtures
Shower Walls
Ceramic or Porcelain Tile: Affordable and versatile in design.
Natural Stone: Elegant but higher maintenance.
Acrylic or Fiberglass Panels: Budget-friendly and easy to clean.
Shower Flooring
Non-slip options are essential. Choose from:
Pebble tiles for spa-like aesthetics
Textured porcelain tiles for durability
Acrylic shower pans for a simple install
Shower Doors
Frameless Glass: Sleek and modern
Framed Glass: More affordable
Sliding Doors: Ideal for tight spaces
Hinged Doors: Better for larger showers
Fixtures and Accessories
Upgrade your space with:
Rainfall showerheads
Handheld sprayers
Thermostatic controls
Built-in niches and shelving
Grab bars and benches for safety
Demolition and Preparation
Turn Off the Water Supply
Before starting any demo, shut off the water to avoid leaks or flooding.
Protect Surrounding Areas
Use plastic sheeting and drop cloths to contain dust and debris. Protect floors, vanities, and nearby fixtures.
Remove Old Shower Components
Take out tiles or panels
Detach fixtures
Remove the shower pan or bathtub
Inspect plumbing and subflooring for damage or mold
Plumbing and Electrical Adjustments
Update Plumbing Lines
Older pipes may need to be replaced or relocated to accommodate new fixtures or layouts.
Install New Drainage Systems
Ensure proper slope and placement for a clog-free, watertight drain system.
Add Electrical if Needed
For lighting, exhaust fans, or digital controls, have an electrician install safe and up-to-code wiring.
Waterproofing the Shower Area
Apply Waterproof Membranes
Use a high-quality liquid or sheet waterproofing membrane on all walls and floors. This protects against leaks and mildew.
Seal All Joints and Corners
Pay extra attention to cracks, corners, and seams, using specialized sealing tape or caulk.
Installing New Shower Base or Pan
Choose a pre-fabricated pan or build a custom mud-set shower base
Make sure the base is perfectly level and aligns with the drain
Use thin-set mortar or adhesive to secure the base
Tiling and Wall Installation
Install Cement Backer Board
Use backer board instead of drywall for wet areas, ensuring it’s moisture-resistant and durable.
Apply Thin-Set Mortar
Spread mortar evenly to place tiles or panels on walls and floors.
Grout and Seal
Use epoxy or sanded grout for strength. After curing, apply a grout sealer to prevent mold and stains.
Install Fixtures and Doors
Install showerheads, controls, and body sprayers
Mount glass shower doors securely with waterproof sealing
Test all fixtures and drainage systems
Finishing Touches
Caulk All Seams
Use 100% silicone caulk around all corners, joints, and fixtures to ensure a watertight finish.
Clean and Polish
Wipe down all surfaces with a non-abrasive cleaner. Polish glass and metal fixtures for a pristine look.
Inspect and Test
Do a full test of:
Water pressure
Drainage
Fixture function
Leak-prone areas
Maintaining Your New Shower
Regular maintenance will keep your shower in top shape:
Clean weekly with non-acidic cleaners
Reseal grout annually
Inspect for mildew or leaks every few months
Keep the area well-ventilated
Shower Remodel Design Tips
Maximize Natural Light
Incorporate glass doors and skylights to brighten the space.
Use Neutral Tones
Timeless shades of white, gray, and beige make the space feel bigger and more modern.
Incorporate Storage
Built-in niches and wall-mounted shelves reduce clutter and add convenience.
Eco-Friendly Upgrades
Opt for low-flow showerheads and energy-efficient lighting to save water and money.
Common Mistakes to Avoid
Many homeowners overlook essential elements that can impact the final results. One frequent mistake is not considering proper drainage. If the slope isn't adequate, water will pool rather than flow to the drain, causing water damage over time.
Another common error is ignoring ventilation. A well-ventilated shower area prevents mold and mildew growth. Insufficient lighting can also diminish your shower’s usability, making it seem smaller and less inviting.
- Skipping waterproof quality checks
- Underestimating ventilation needs
- Neglecting adequate lighting options
Conclusion
A bathroom shower remodel is more than just an aesthetic upgrade it enhances comfort, improves safety, and adds significant resale value to your home. With careful planning, high-quality materials, and precise installation, you can achieve a stunning, spa-like retreat in your own home.